Manage Issues
After creating an issue, to present the specific information of the issue more intuitively to users, Incident further uses channels to uniformly manage all issues generated within the current workspace.
Based on channels, you can customize subscriptions to focus on the desired range of issues, view subscribed members or notification targets, and achieve member collaboration through various methods such as using time widgets or replying to issues.
Channel List
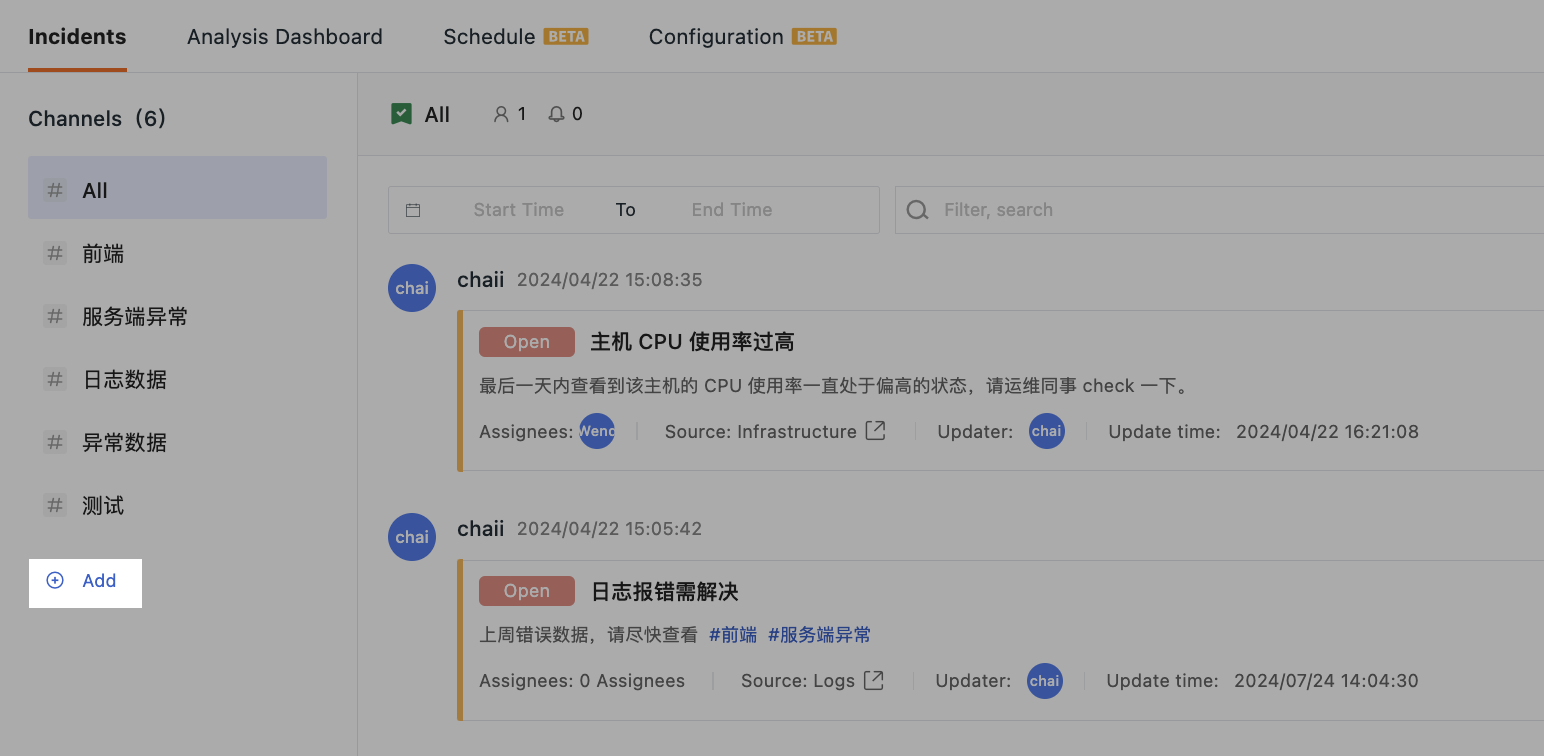
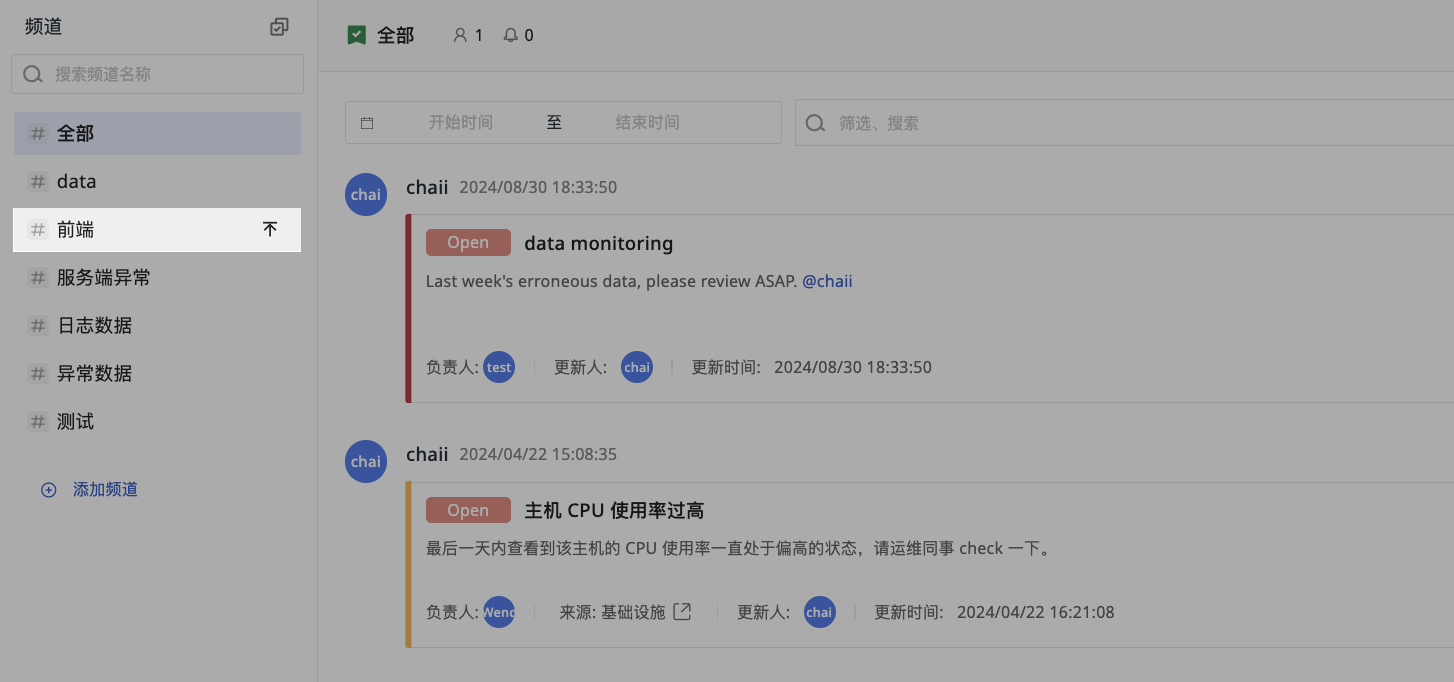
Go to Incident > Channels. Each workspace has a default All channel, which displays all issues. You can also customize and create new channels.
Create
Below the channel list on the left side of the page, click Add Channel, enter the channel name, and the addition is complete.
You can also create a new channel in the following ways:
-
When replying to an issue, enter
#in the reply content. In the pop-up window, select Add to create a new channel. -
In the new issue creation entry > Monitoring > Event Notification > Channel, click the channel dropdown, and you can create a new channel as needed.
Manage Channel List
- For all created channels, hover to the right of the channel and choose whether to pin the channel.
- Click Select Multiple to display issues from multiple channels in bulk.

- Select "Only show those I'm responsible for" to view and manage all incidents in the current workspace for which you are personally responsible.
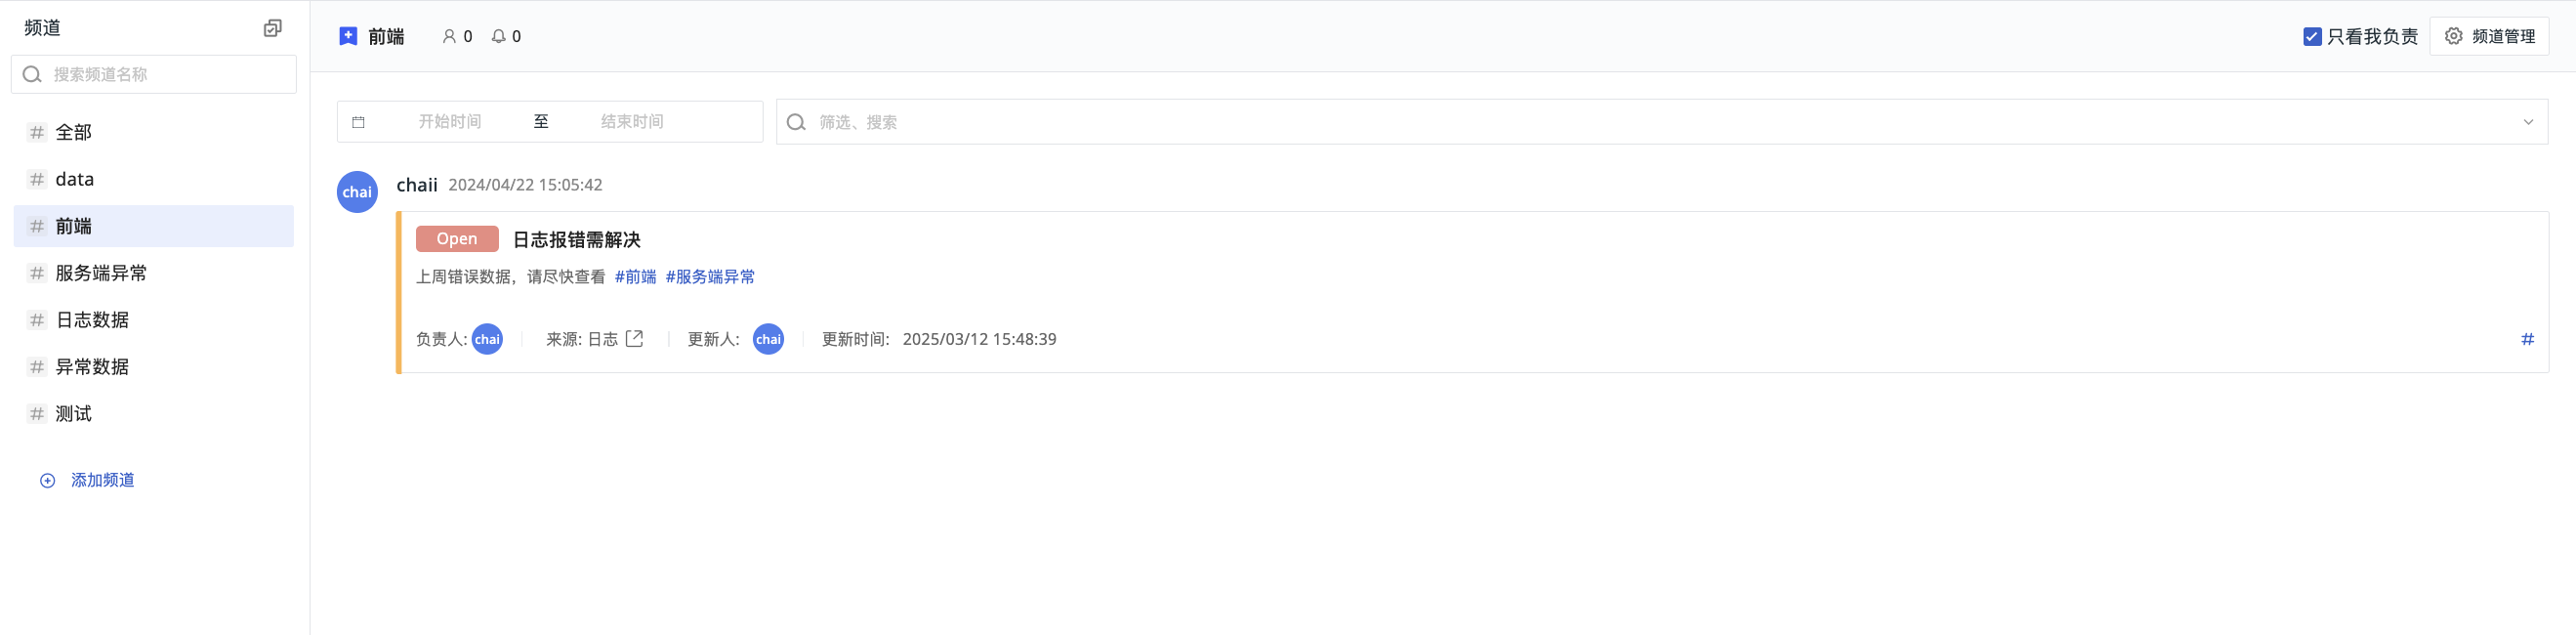
To uniformly manage incidents you are responsible for, you can go to User Center > Incident Management to view them.
Channel Details
After creating a channel, you can configure subscriptions, notification targets, filters, and searches on the right side of the channel list. All issues under the current channel will be listed. Click on an issue to open its details page.
Basic Information
You can view or modify the name of the current channel and add a description for the current channel, explaining the background of the channel's creation and the scope of exception handling.
Note
The default channel name cannot be changed. Furthermore, the default channel cannot be deleted, only exited.
Upgrade Channel Notification
In the upper left corner of the issue list, click the icon or click Settings to expand the display page.
-
You can directly select a notification strategy.
-
Select notification targets. Click the dropdown and choose a notification target to receive updates on issues in the current channel.
-
Upgrade configuration: Set to send upgrade notifications to the corresponding notification targets when a new issue exceeds a specific number of minutes and no assignee is specified.
Subscribe to Channel
In the upper left corner of the issue list, click the icon . You can choose the subscription function as needed.
-
Responsible: After subscribing, you will receive notifications for newly delivered issues, replies to existing issues, and daily issue summary notifications.
-
Participate: After subscribing, you will receive notifications for newly delivered issues.
-
Follow: After subscribing, you will receive a daily issue summary notification at 9:00 AM daily.
-
None: Unsubscribe.
Time Range Filter
By default, all issues are listed automatically. You can add a time range for further filtering.
After selecting a date range, all audit events within the selected time range are listed. The default start time is 00:00:00, and the default end time is 23:59:59.
- After selecting the time range, click Select Time to customize the time range.
- Click Clear to remove the time filter condition.
Filter & Search
In the filter and search bar in the upper left corner of the issue list, enter the corresponding filter & search conditions to accurately locate your target issue.
- Filter conditions: Source, Level, Status, Creator, Updater
- Search conditions: Issue title, Issue description
For more information on search methods, please refer to Search Instructions.
Issue Correlation Analysis
If the current issue is already associated with certain events, the corresponding Icon will be displayed along with the quantity. Clicking it will jump to the event explorer, listing the statistics of related events: including all associated events (whether generated by triggering an incident or added later in comments).
Issue Details Page
Click on an issue within the channel to open its details page. Here you can view the status, level, source, description, attachments, associated events, and reply information for that issue.
You can also change the information here on the details page. Please refer to the Permission List.
Reply to Issue
Reply records for an issue generally stem from two situations.
A member initially creates an issue or changes the issue's status, level, description, or related information.
Manually input a reply. For this situation, you can refer to the following instructions:
-
If you need to mention a
memberin the reply content, and thatmembername exists, a notification will be automatically triggered. If themembername does not exist, no notification will be triggered. -
If you enter
#in the reply content, there may be the following two scenarios:-
The channel already exists: Once your reply is successfully created, the issue will be delivered and displayed in the corresponding channel.
-
The channel does not exist: You can select Add in the pop-up window to create a new channel.
-
-
You can add links or upload images, videos, or text (CSV/TXT/JSON/PDF, etc.) in your reply.
Modify/Delete Reply
Click the edit and delete buttons to the right of Reply to edit or delete that reply.
Note
Only the creator of the reply can modify it.