Skip to content

Index


Guance supports setting log multiple indexes, filtering qualified logs and saving them in different log indexes, thus helping users save log data storage costs by selecting different data storage strategies for log indexes.

Create

Click Logs > Index > Create.

On the Index page, enter Index Name, set Filter Condition, select Data Storage Policy, and click Confirm to create a new index.

Note: Please contact Guance Account Manager to activate multiple indexes of workspace logs.

  • Index name: The name of the custom index. The index name must be unique and unmodifiable, and the deleted index name cannot be created again.
  • Filter condition: Support filtering methods such as in, not in, match and not match.
  • Data storage policy: Support selection of 7 days, 14 days, 30 days and 60 days.

Warning
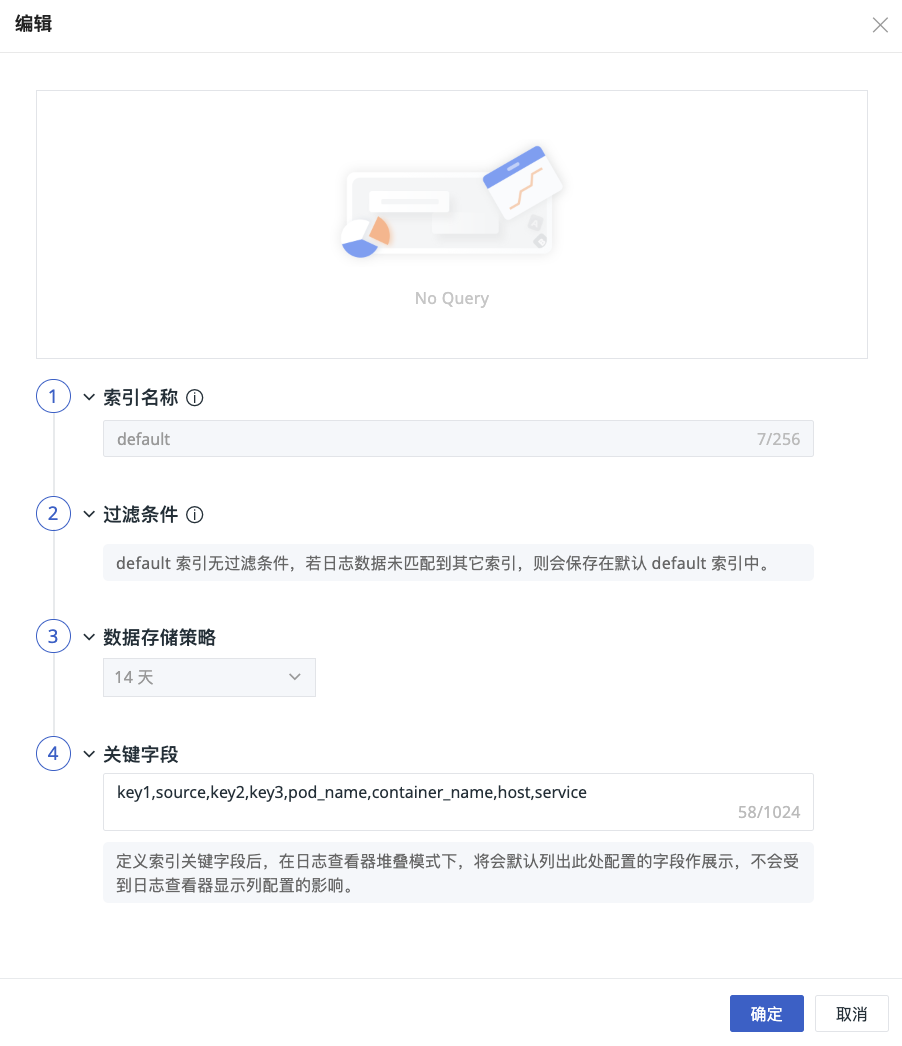
  • All logs exist in a default index named default, which does not allow modification and deletion.

  • After setting multiple indexes of logs, logs will be matched according to the order rule. Once matched, they will be stored in the corresponding index, and no further matching will be continued. (The same log will not be saved repeatedly across indexes.)

  • Log multiple indexes include default indexes, and there are at most 6 indexes, that is, custom indexes can be created at most 5 indexes.

  • Standard members and read-only members only have view permissions, and administrators and owners can edit, delete, drag and sort.

Index Data Reporting Instructions

In the following picture, after the index is successfully created, log data with source as datakit will match the inflow to the first index index.d when it is reported.

Example

In the Index, configure the index filter condition source to http_dial_testing.

Click on the index to jump to the Log Explorer and view the corresponding log data.

Or you can select it in Logs > Explorers to view the corresponding log contents.

Bind Index

Guance supports binding external index data, including SLS, Elasticsearch and OpenSearch index data. After successful binding, you can query and analyze external index data in guance workspace.

Warning
  • The bound index only supports deletion (deletion means unbinding), and the log under the index cannot be queried after unbinding;

  • Other indexes cannot have the same name as the log index or the historical log index.

SLS Logstore

In Guance > Logs > Index, click on Bind Index. In the pop-up dialog box, select SLS Logstore. You can choose between two authorization methods: RAM-account authorization and Cross-account authorization:

RAM-account Authorization

I. Fill in the AccessKey ID / AccessKey Secret (referred to as AK / AKS) to automatically obtain the Project and Logstore.

II. The Index is by default the same as the Logstore name, but you can also customize and edit the name.

Note: This index name is not related to SLS and is used for filtering data in Guance.

III. Field mapping.

IV. After clicking Confirm, the index binding is completed, and you can switch indexes in the Explorer to view the data.

For information on how to open the SLS storage solution, see Alibaba Cloud Market Launches Guance Exclusive Edition.

Warning
  • If you are a commercial user of Guance, you can refer to the document RAM Account Authorization to obtain AK/AKS for index binding;
  • If you are a user of the exclusive version of Guance, you can directly use AK/AKS when opening the exclusive version for index binding. For how to open the exclusive version, you can refer to the document Alibaba Cloud Market opens the exclusive version of guance;
  • If you are an exclusive user of Guance and want to bind SLS log indexes under other Alibaba Cloud accounts, you can refer to the document RAM Account Authorization to obtain AK/AKS for index binding.

Cross-account authorization

Note: This feature is not supported on Hong Kong(China) and overseas sites.

I. Click Go now to Alibaba Cloud. After logging in, proceed with the authorization operation.

Click Agree to Authorize to open the Service Provider UID Verification window. You can click on Service Provider Permission Explanation page to view the UID acquisition.

Enter the UID and click OK to automatically navigate to Alibaba Cloud Marketplace > Purchased Services. The authorization is now complete.

II. After completing the authorization, enter your Alibaba Cloud account ID to automatically retrieve the Project and Logstore.

III. Guance Index is by default consistent with the name of Logstore, and you can also customize and edit the name.

Note: This index name is unrelated to SLS and is used for data filtering in Guance.

IV. Field mapping.

V. After clicking on Confirm, the index binding will be completed, and you can view it in Explorer by switching indexes.

Warning
  • To authorize cross-account role operations, you need to use either the Alibaba Cloud master account or a sub-account that has been granted permissions to access RAM (Resource Access Management) with the following permissions: GetRole, GetPolicy, CreatePolicy, CreatePolicyVersion, CreateRole, UpdateRole, AttachPolicyToRole.

  • During the verification process, if the verification is done using an authorized sub-account, it will automatically locate the master account to which the sub-account belongs and retrieve the Projects and Logstores under that master account.

FAQ

I. How to confirm the successful authorization on the Alibaba Cloud Marketplace?

You can go to the RAM Console by clicking on the link provided on the authorization request page.

In the Roles, you can view the roles that have been authorized. In the Permissions, you can view the authorized subjects and permission policies.

II. Why can't I automatically retrieve the Project and Logstore after entering my Alibaba Cloud account ID?

Only if your Alibaba Cloud account has activated the SLS Log Service and completed the authorization, will the Project and Logstore be automatically retrieved.

Please note: Projects with the prefix /guance-wksp- will be automatically filtered out and not listed. If there are no Logstores under your Project, they will not be automatically retrieved.

Elasticsearch

In Log > Index, click Bind. Select Elasticsearch page in the pop-up dialog box, and fill in necessary info. After filling in, click Test to confirm the correctness of user name and password.

Field Description
URL The user's Elasticsearch access address, please make sure it is accessible on the public network.
User Name Access user name.
Password Password required for access.
Elasticsearch Index The name of the index in Elasticsearch that needs to be bound to view.
Guance Index The unique index name identified by Guance. This configuration is user-defined. Duplicate names are not supported in the workspace.
Field Mapping Due to the inconsistency between Guance and the standard fields of the external index, you can directly map the fields of the log when binding the index.

OpenSearch

In Log > Index, click Bind. Select Elasticsearch page in the pop-up dialog box, and fill in necessary info. After filling in, click Test to confirm the correctness of user name and password.

Field Description
URL The user's OpenSearch access address, please make sure it is accessible on the public network.
User Name Access user name.
Password Password required for access.
Elasticsearch Index The name of the index in OpenSearch that needs to be bound to view.
Guance Index The unique index name identified by Guance. This configuration is user-defined. Duplicate names are not supported in the workspace.
Field Mapping Due to the inconsistency between Guance and the standard fields of the external index, you can directly map the fields of the log when binding the index.

ES / OpenSearch Binding Index Configuration Instructions

As the index of ES or OpenSearch has multiple index rules or names caused by scrolling strategy, this configuration instruction mainly introduces how to configure in Guance when you need to query all the data under the current index or query the corresponding data of an index under the current index.

Indexes, Aliases and Slicing

  • An index alias is a secondary name used to reference one or more existing indexes.
  • An alias can bind multiple indexes, and an index can bind multiple aliases.

As shown in the above figure, there are two fragments in the index of index1. If users need to query the log contents in index1, they only need to bind the index with index name of index1 in Guance, and have no awareness of the number and size of fragments.

Index Scrolling

As shown in the above figure, take ES as an example according to the rule of scrolling indexes one day. Log-1 is the alias of these indexes, and Log-1-2022/10/01 is the index name.

  • If you need to bind all indexes in Guance, you need to bind this index alias, refer to the following example:

  • If you need to bind one of these indexes in Guance, or if there is no scrolling policy in the configuration, you only need to bind the specific index name, refer to the following example:

rizhiyi

In Log > Index, click Bind. Select rizhiyi page in the pop-up dialog box, and fill in necessary info. After filling in, click Test to confirm the correctness of user name and password.

Field Description
URL Please ensure that the user's access address for rizhiyi is accessible on a public network.
User Name Access user name.
Password Password required for access.
beaver Index The name of the index in rizhiyi that needs to be bound to view.
label You can enter tags in the format key:value; multiple tags can be combined using AND & OR operators. Example: field1:value1 AND field2:value2 OR field3:value3. Only data associated with the specified tags will be queried. By filtering data using tags, you can achieve a more granular data range query authorization capability.
Guance Index The unique index name identified by Guance. This configuration is user-defined. Duplicate names are not supported in the workspace.
Field Mapping Due to the inconsistency between Guance and the standard fields of the external index, you can directly map the fields of the log when binding the index.

Field Mapping

As the standard fields of Guance are inconsistent with those of SLS, Elasticsearch and OpenSearch. Guance provides the function of field mapping in order to better enable users to view and analyze the log data of external indexes, and you can directly map the fields of logs when binding indexes (see the above picture).

  • time: The reporting time of logs. The default mapping date field of Log Service is time, and Elasticsearch and OpenSearch can be filled in according to the actual log data;
  • _docid: The unique ID of the log so you can view the bound log details after mapping, for example, you can map the original field logid to _docid;
  • message: The contents of the log. After mapping, you can view the bound log contents and use the message field to help you cluster and analyze your log data. For example, you can map the original content field to message. For more details, please refer to the document Log Explorer Clustering.

You can also select the index that needs to modify the field mapping in Index > Other Indexes, and click Edit to modify the mapped fields of the index.

Warning
  • The mapping rules of each index are not interlinked and are stored independently;
  • If the _docid field exists in a log and the same field is mapped, the _docid in the original log does not take effect;

Operation

Enable / Disable the currently customized index under the Operate menu on the right side of Index.

  • After the index is disabled, the subsequent logs will not enter the index again, and will continue to match and flow into other indexes for saving. If there is no matching other indexes, they will be saved in the default index;

  • After the index is enabled, subsequent logs are re-entered into the index for saving.

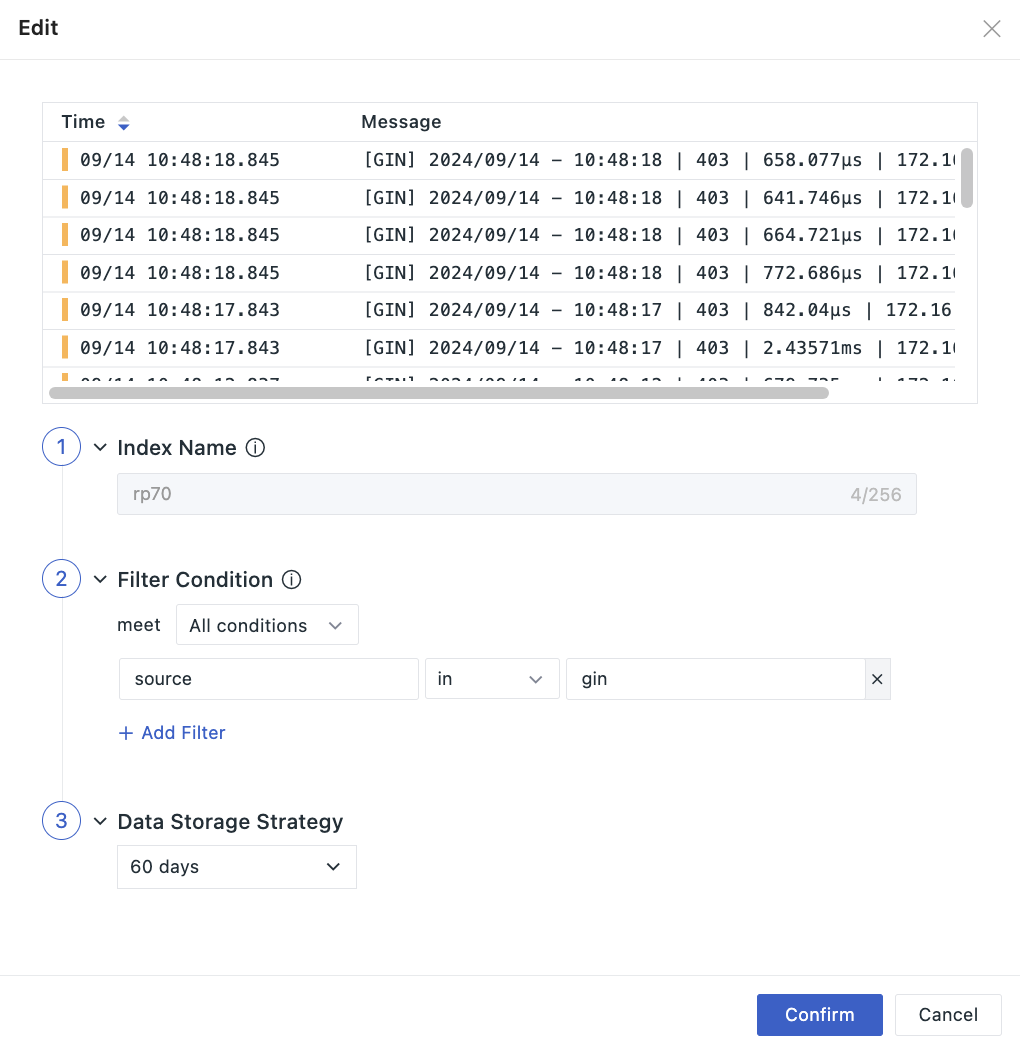
Under the Operate menu on the right side of Index, click the Edit icon to edit the created log index. In the following picture, after the current index index.da is successfully created, when the log data with source as datakit is reported, it will match and flow into the first matching index for saving.

Note: Changing the storage policy will delete the data in the index, so please be careful.

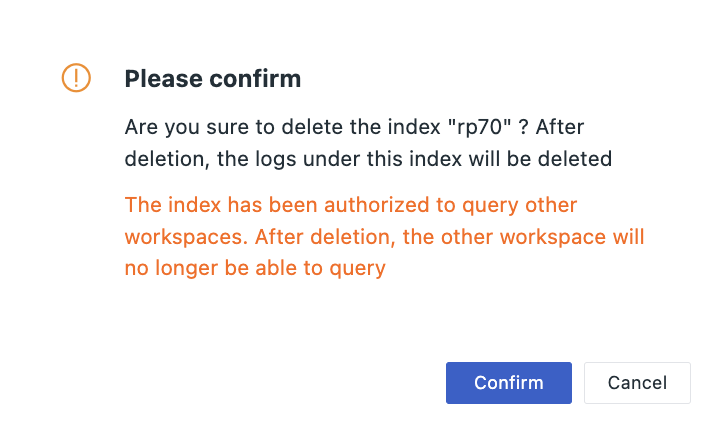
Under the Operate menu on the right side of Index, click the Delete icon to delete the created log index.

Note: Deleting an index will delete the log data in the index at the same time, and no index with the same name can be created. If there is no other matching index, the log data reported later will be saved in the default index.

Under the Operate menu on the right side of Index, click the Drag icon to drag and drop the created log index up and down.

Note: Log may match another index rule if you change the index order.

Feedback

Is this page helpful? ×