Authing Single Sign-On Example
Authing is a provider of identity and access management solutions.
Steps
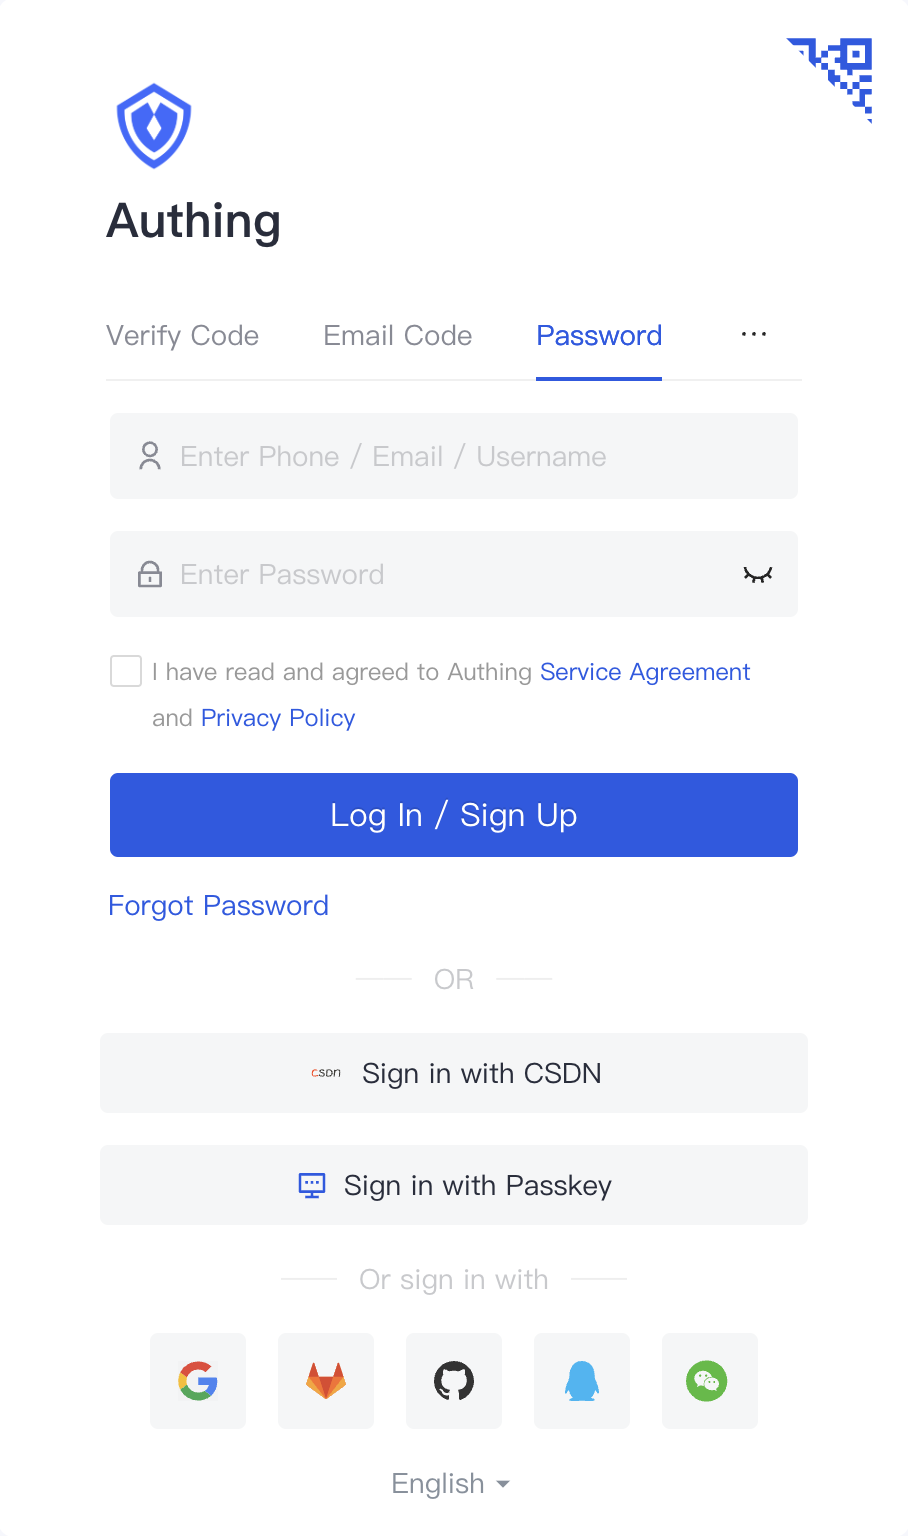
1. Register for / Log in to Authing Account
You can create an Authing account through the following steps. If you already have an account that you are using, proceed directly to the next configuration step.
Note: Currently Guance only supports single sign-on login with email accounts.
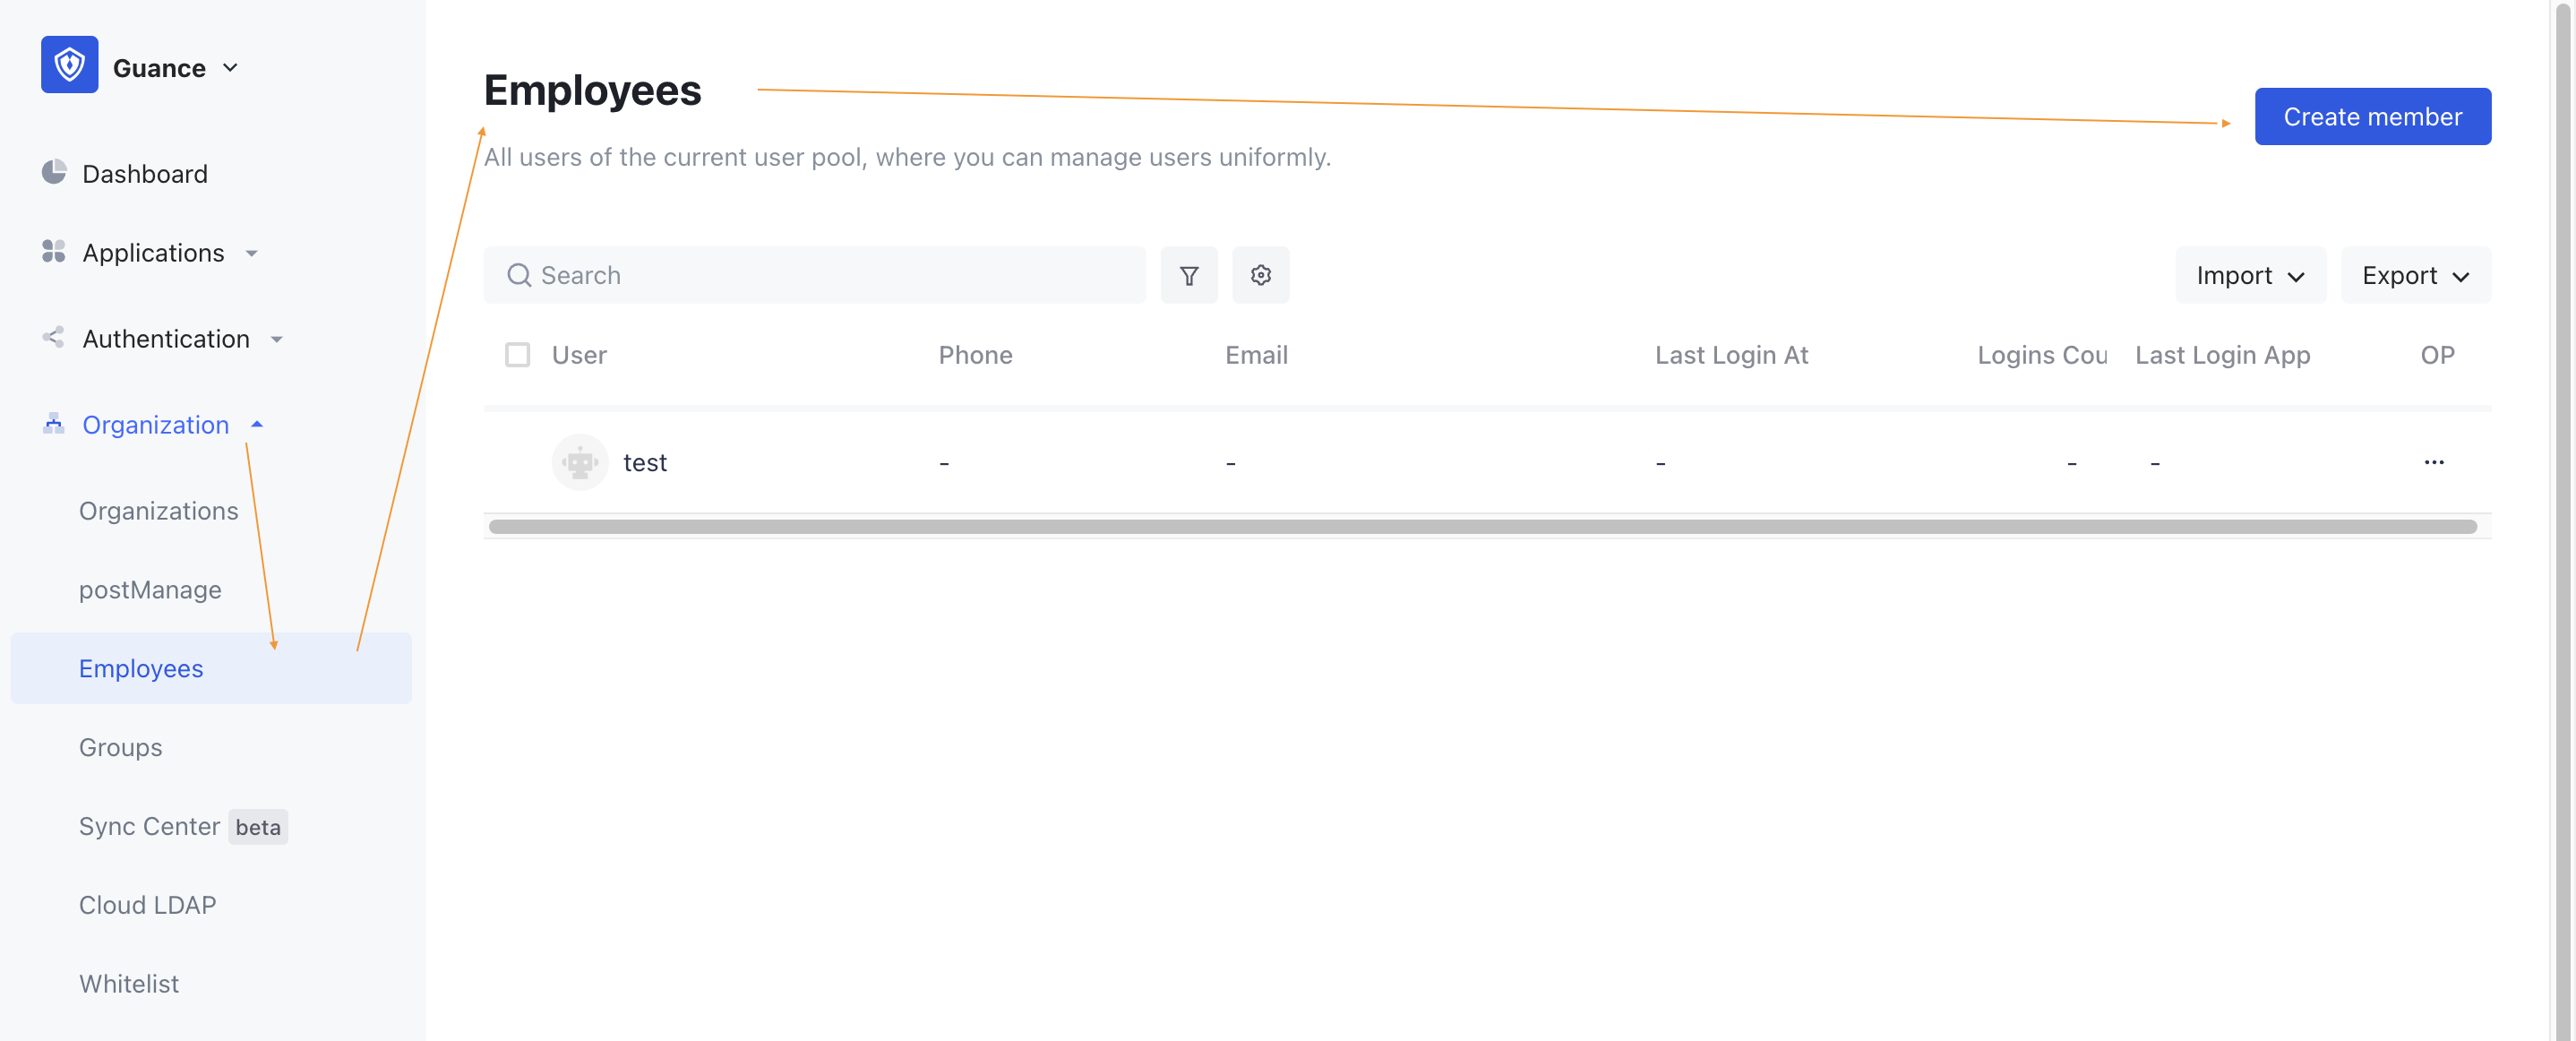
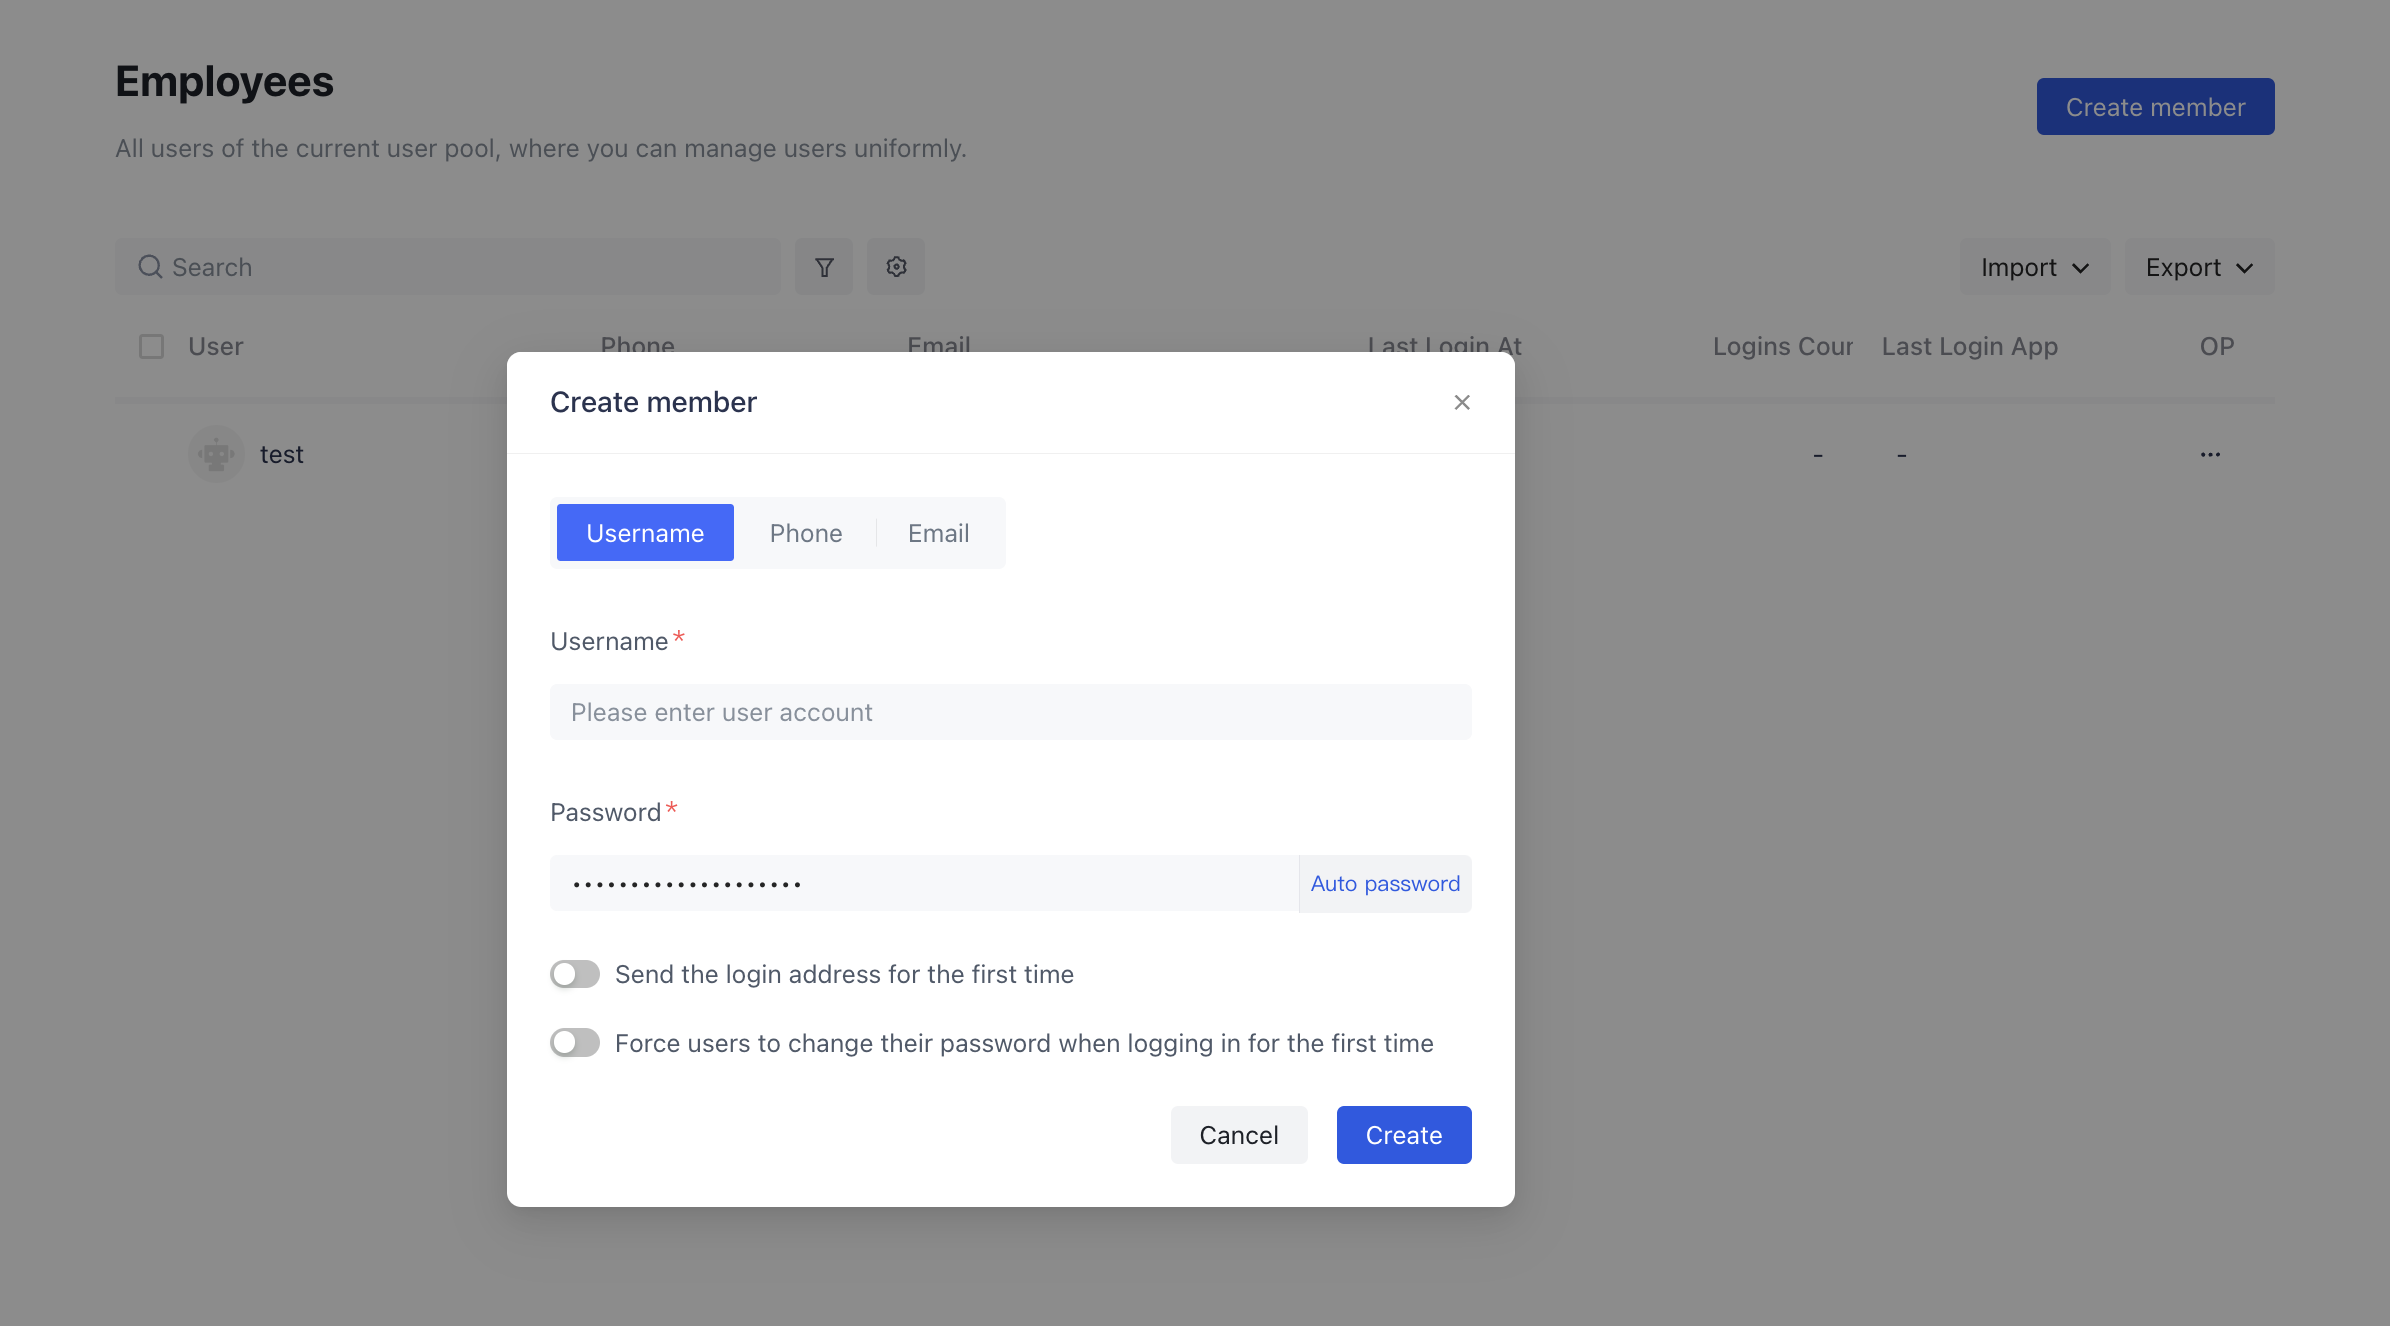
2. Create Users
On the Authing User Management > User List page, create users. As shown below:
Note: Both username and email creation methods are acceptable. When creating users with usernames, the username must be an email address. If you use a username account to implement single sign-on, a mapping relationship between the username and email will need to be added later in the SAML protocol configuration.
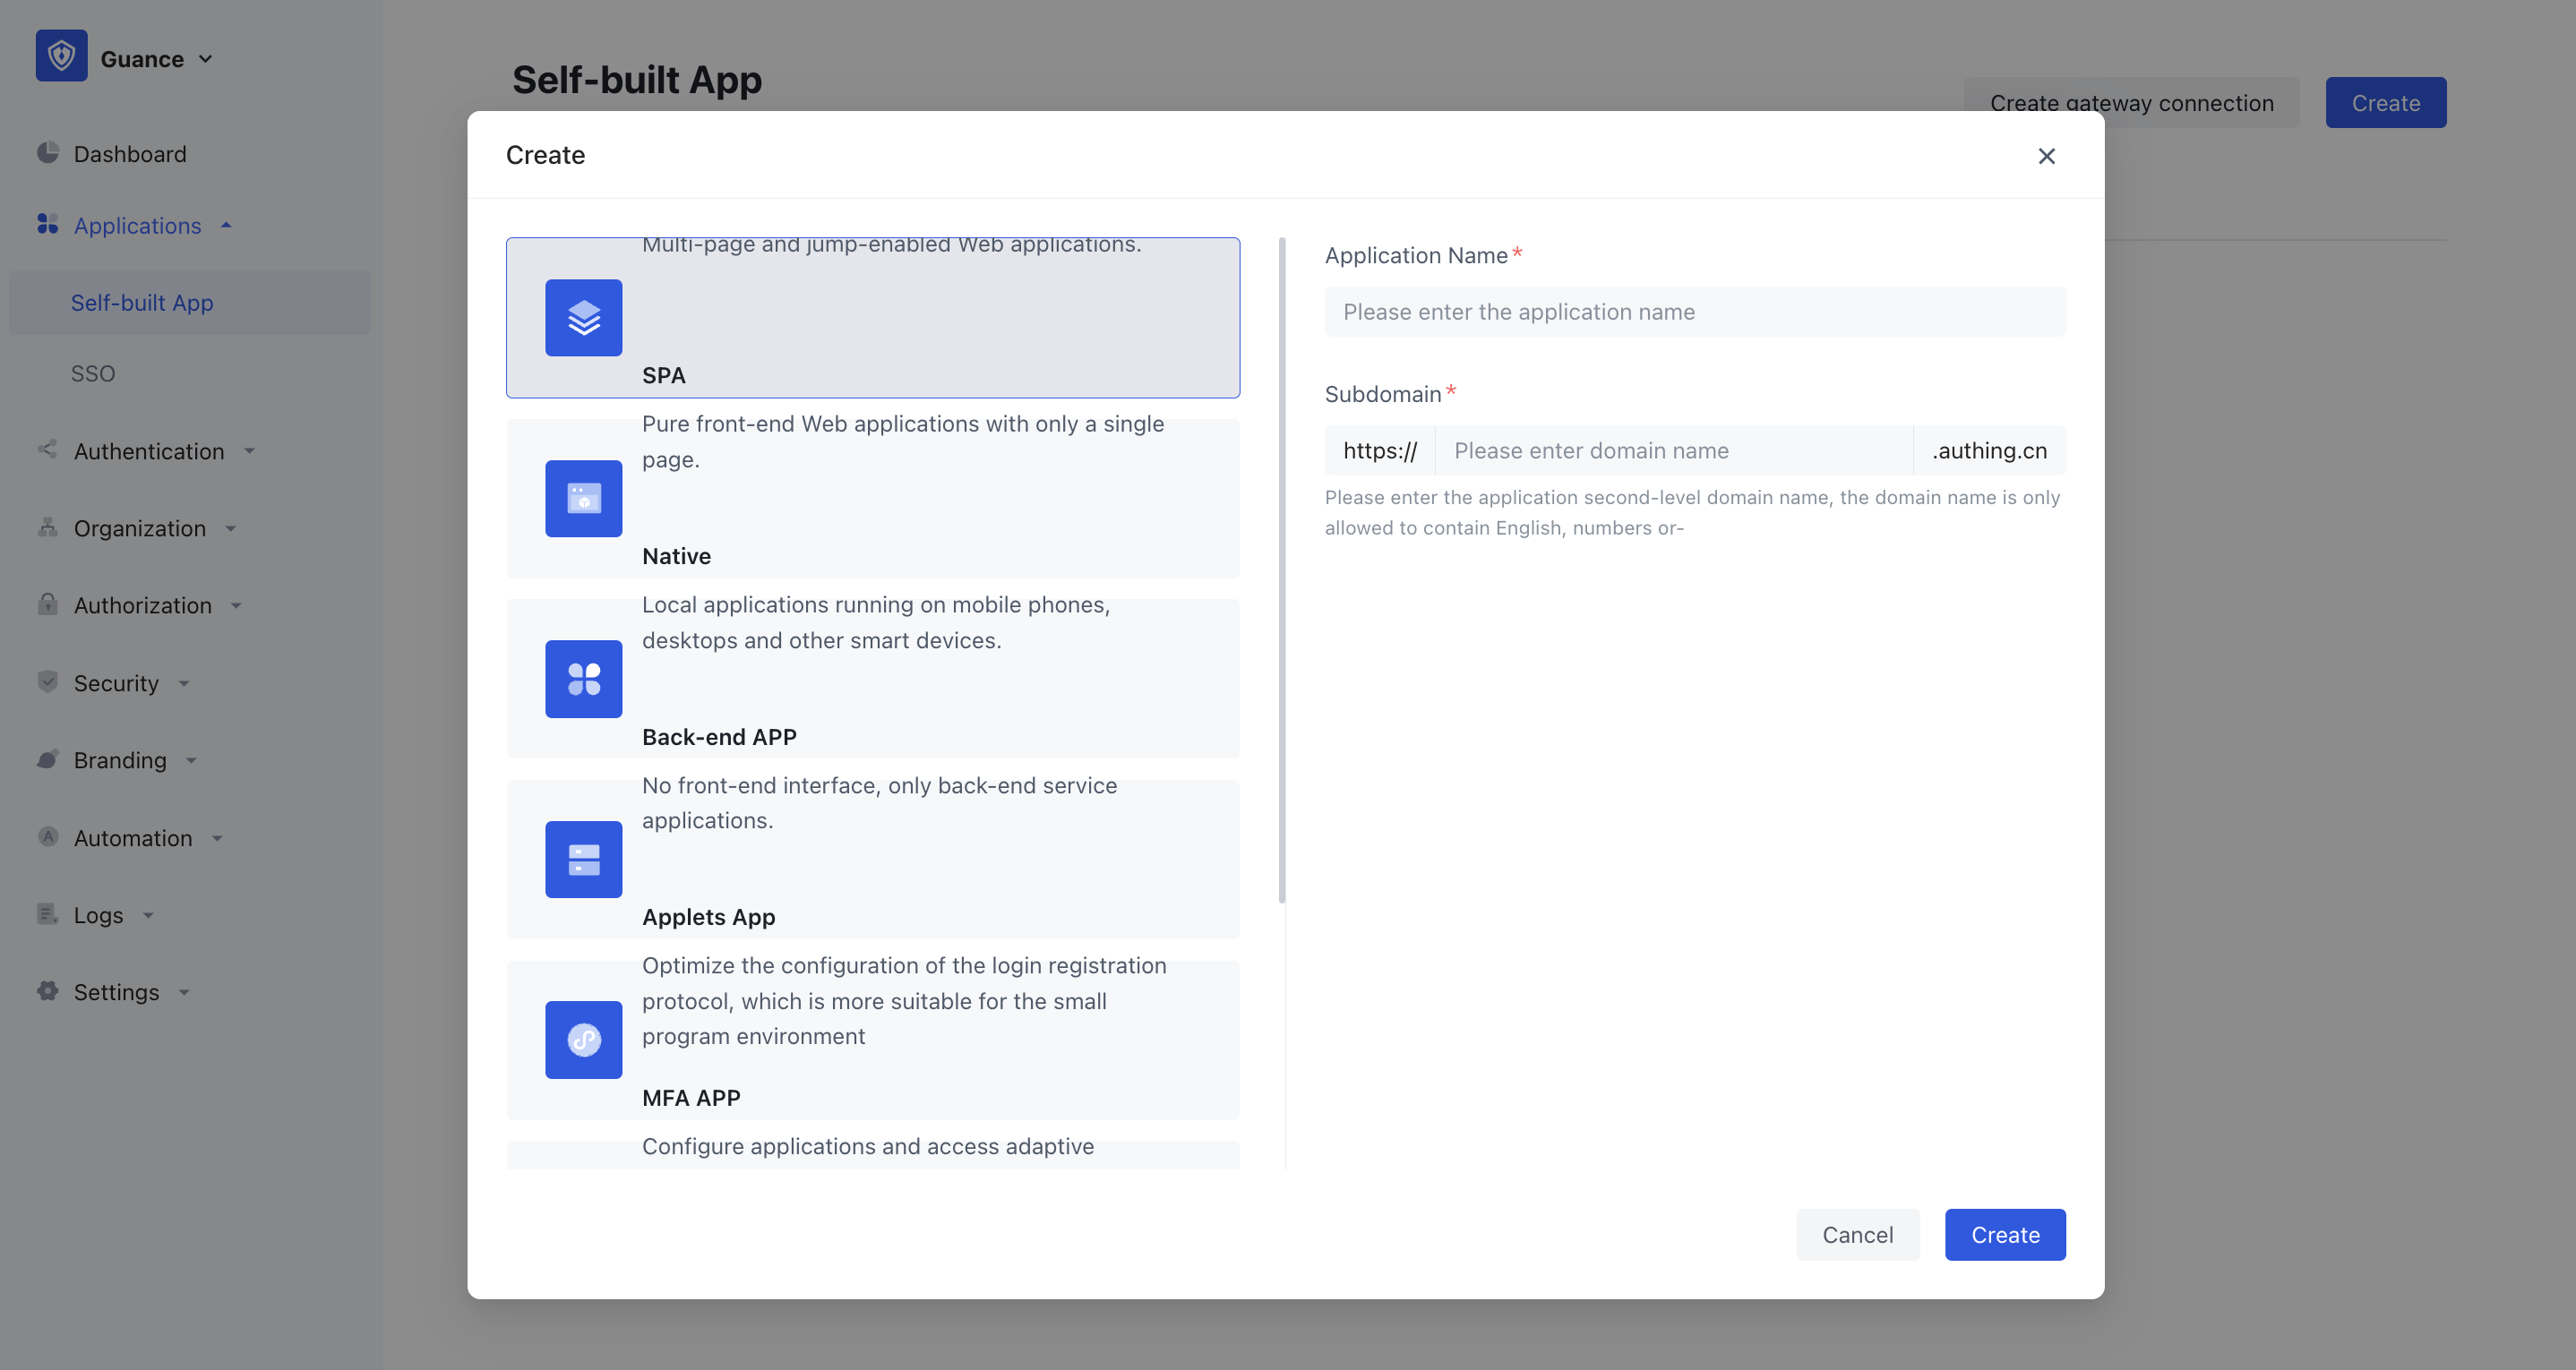
3. Create Authing Application
After creating users, go to the Authing Application Page, click Add Application, and configure the application information. As shown below:
Note: If you already have an application in use, you can skip this step and proceed directly to the next configuration step. The application name and authentication address here need to be configured customly.
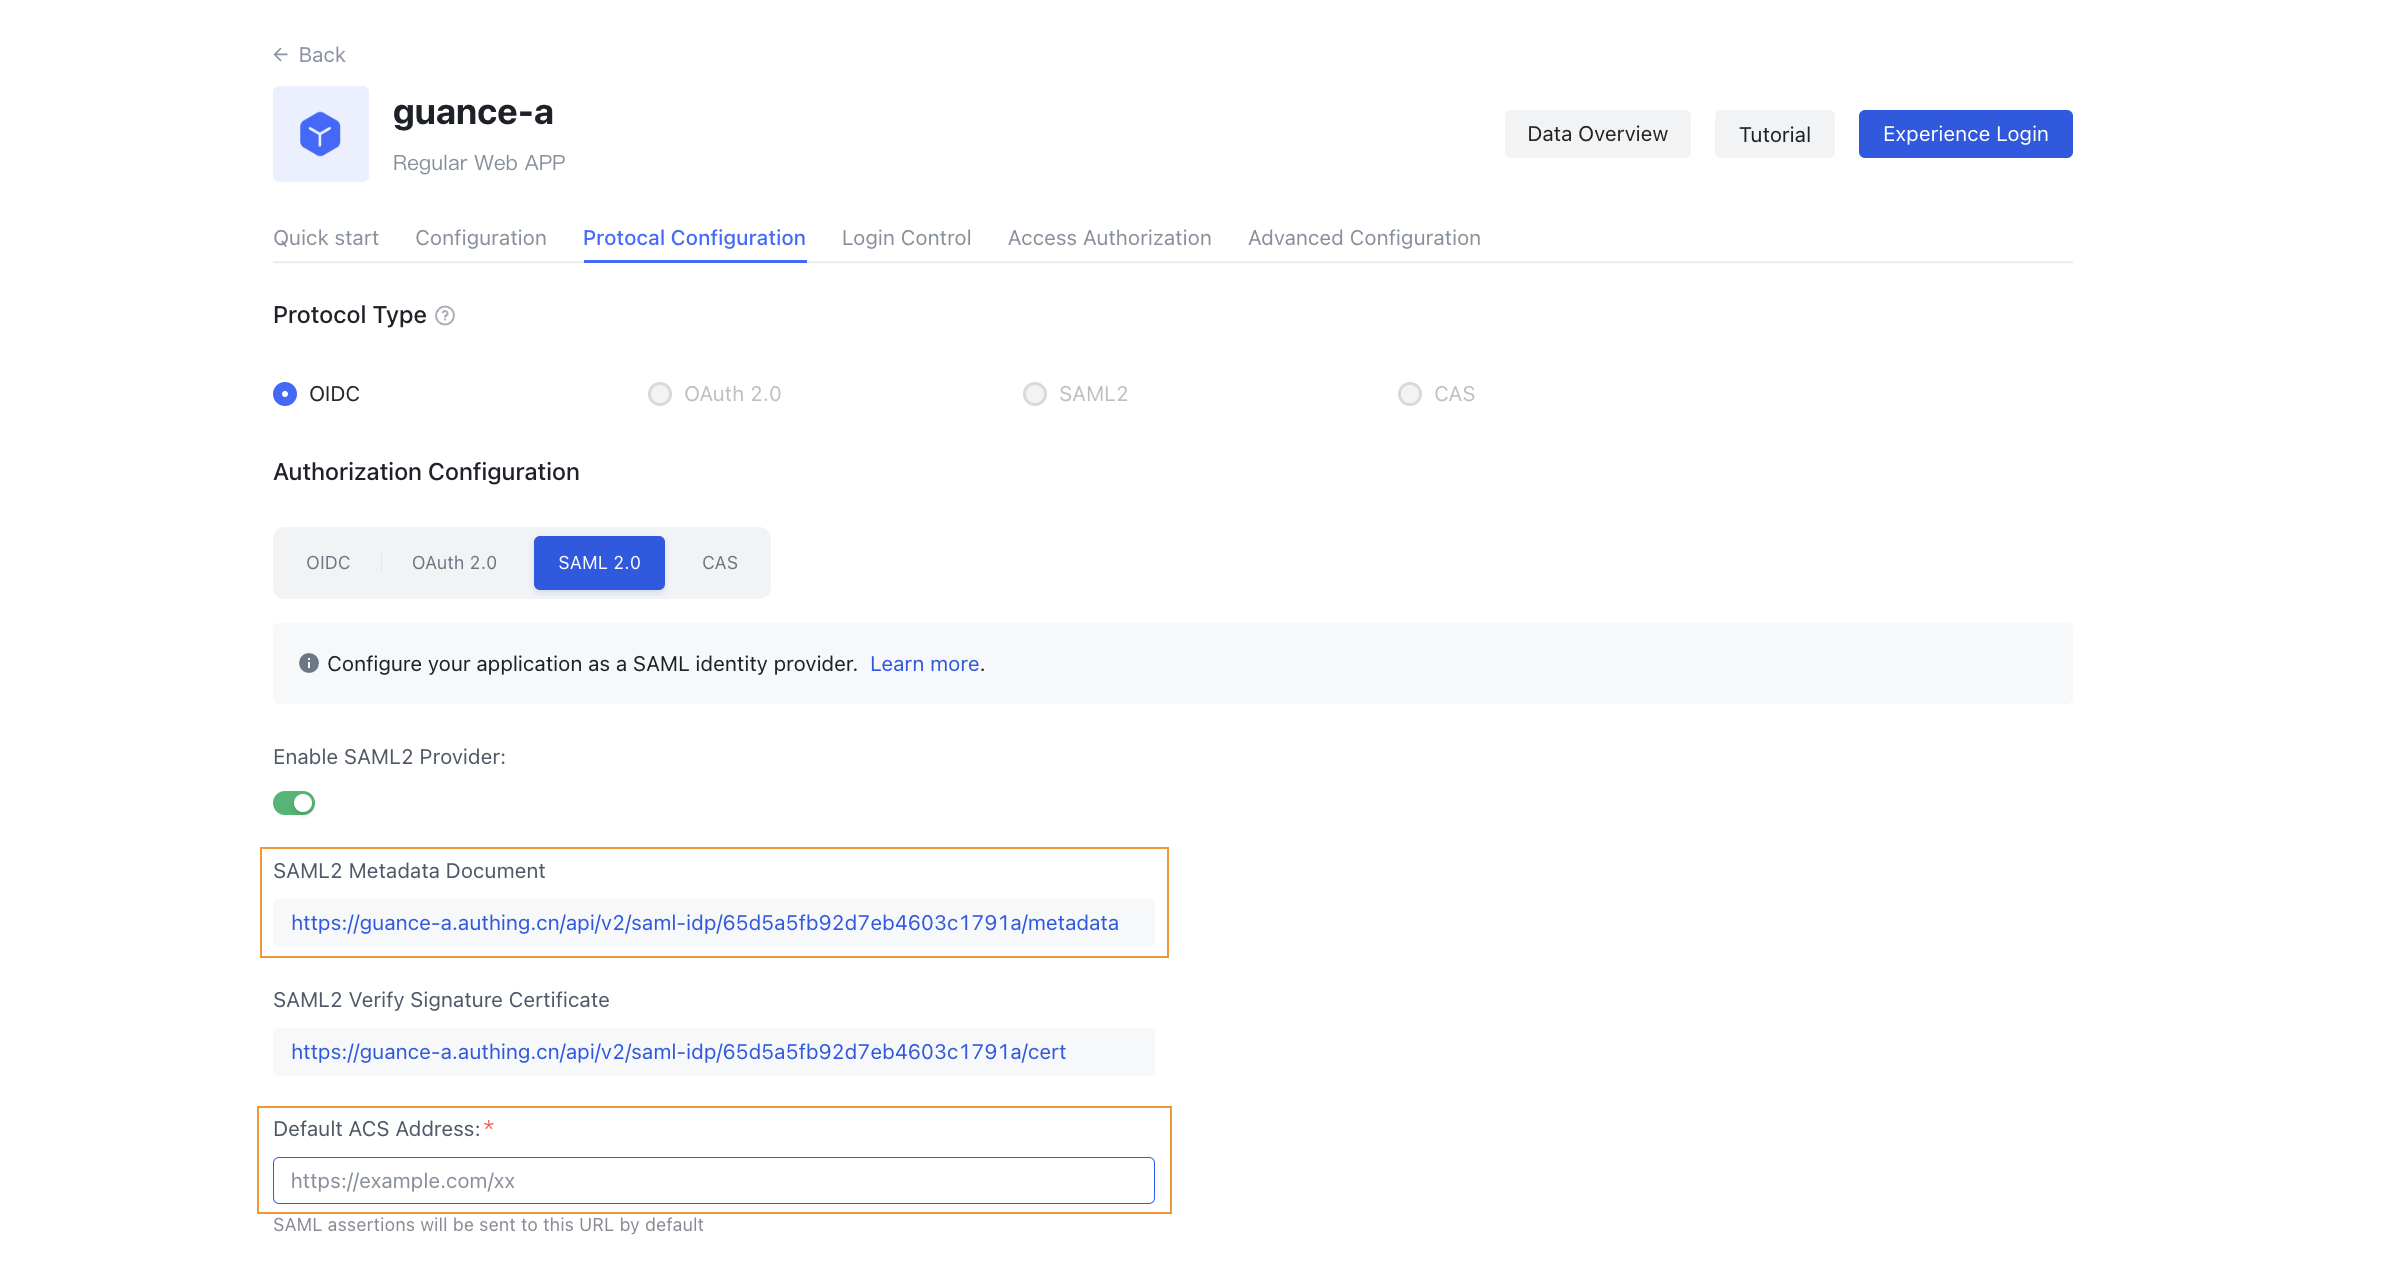
4. Configure SAML2 Identity Provider Information
Enter the application configuration page, scroll down to the bottom to find more identity protocols. Configure the SAML2 identity provider information. As shown below:
(1) Fill in the default ACS address (assertion address), then click Save. (This configuration is only for obtaining metadata for the next step; after retrieving the correct assertion address in Guance, it can be replaced. Assertion address example: https://auth.guance.com/saml/assertion;)
(2) Download the SAML2 metadata document, which will be uploaded when creating the SSO identity provider in Guance;
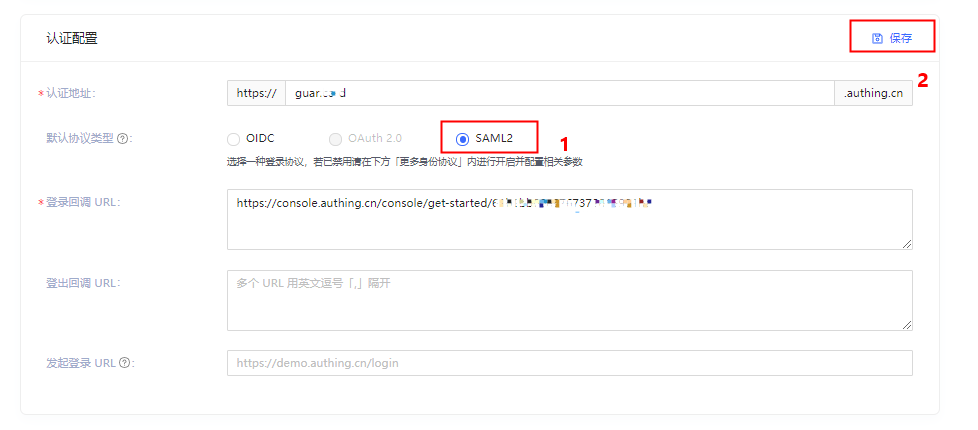
5. Select Authentication Protocol Type
Set the default protocol type in Authentication Configuration to SAML2.
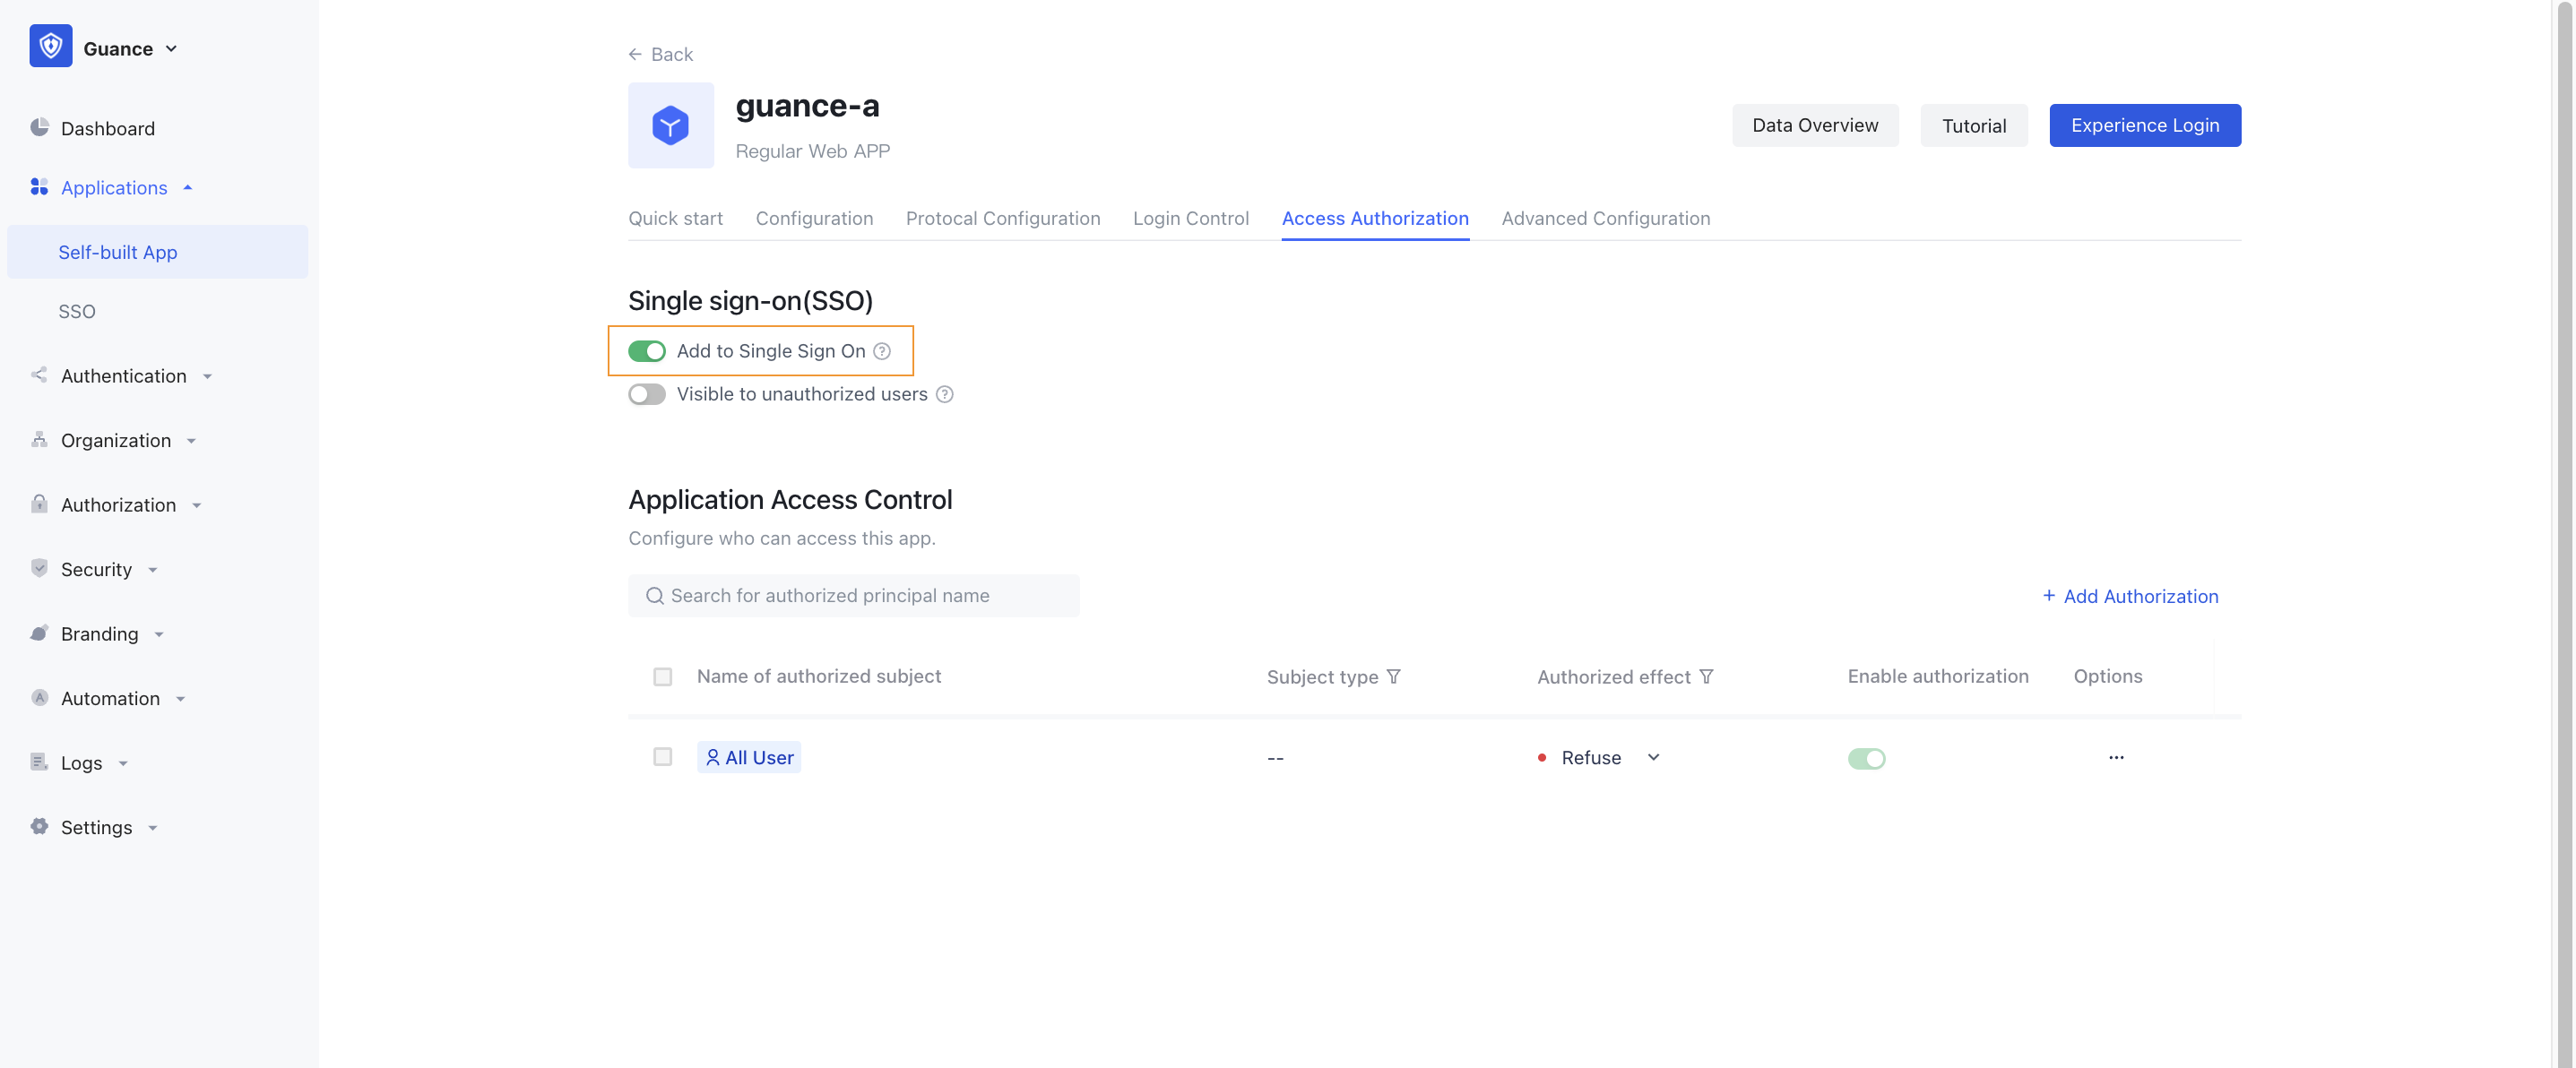
6. Select Application Access Authorization
Adjust Access Authorization and set the default permission: Allow all users to access. As shown below:
7. Enable SSO Single Sign-On in Guance
8. Update Authing ACS Address and Mapping
After configuring the SSO single sign-on in Guance, obtain the assertion address, update the default ACS address in Auhting SAML2, and add field mapping settings. As shown below:
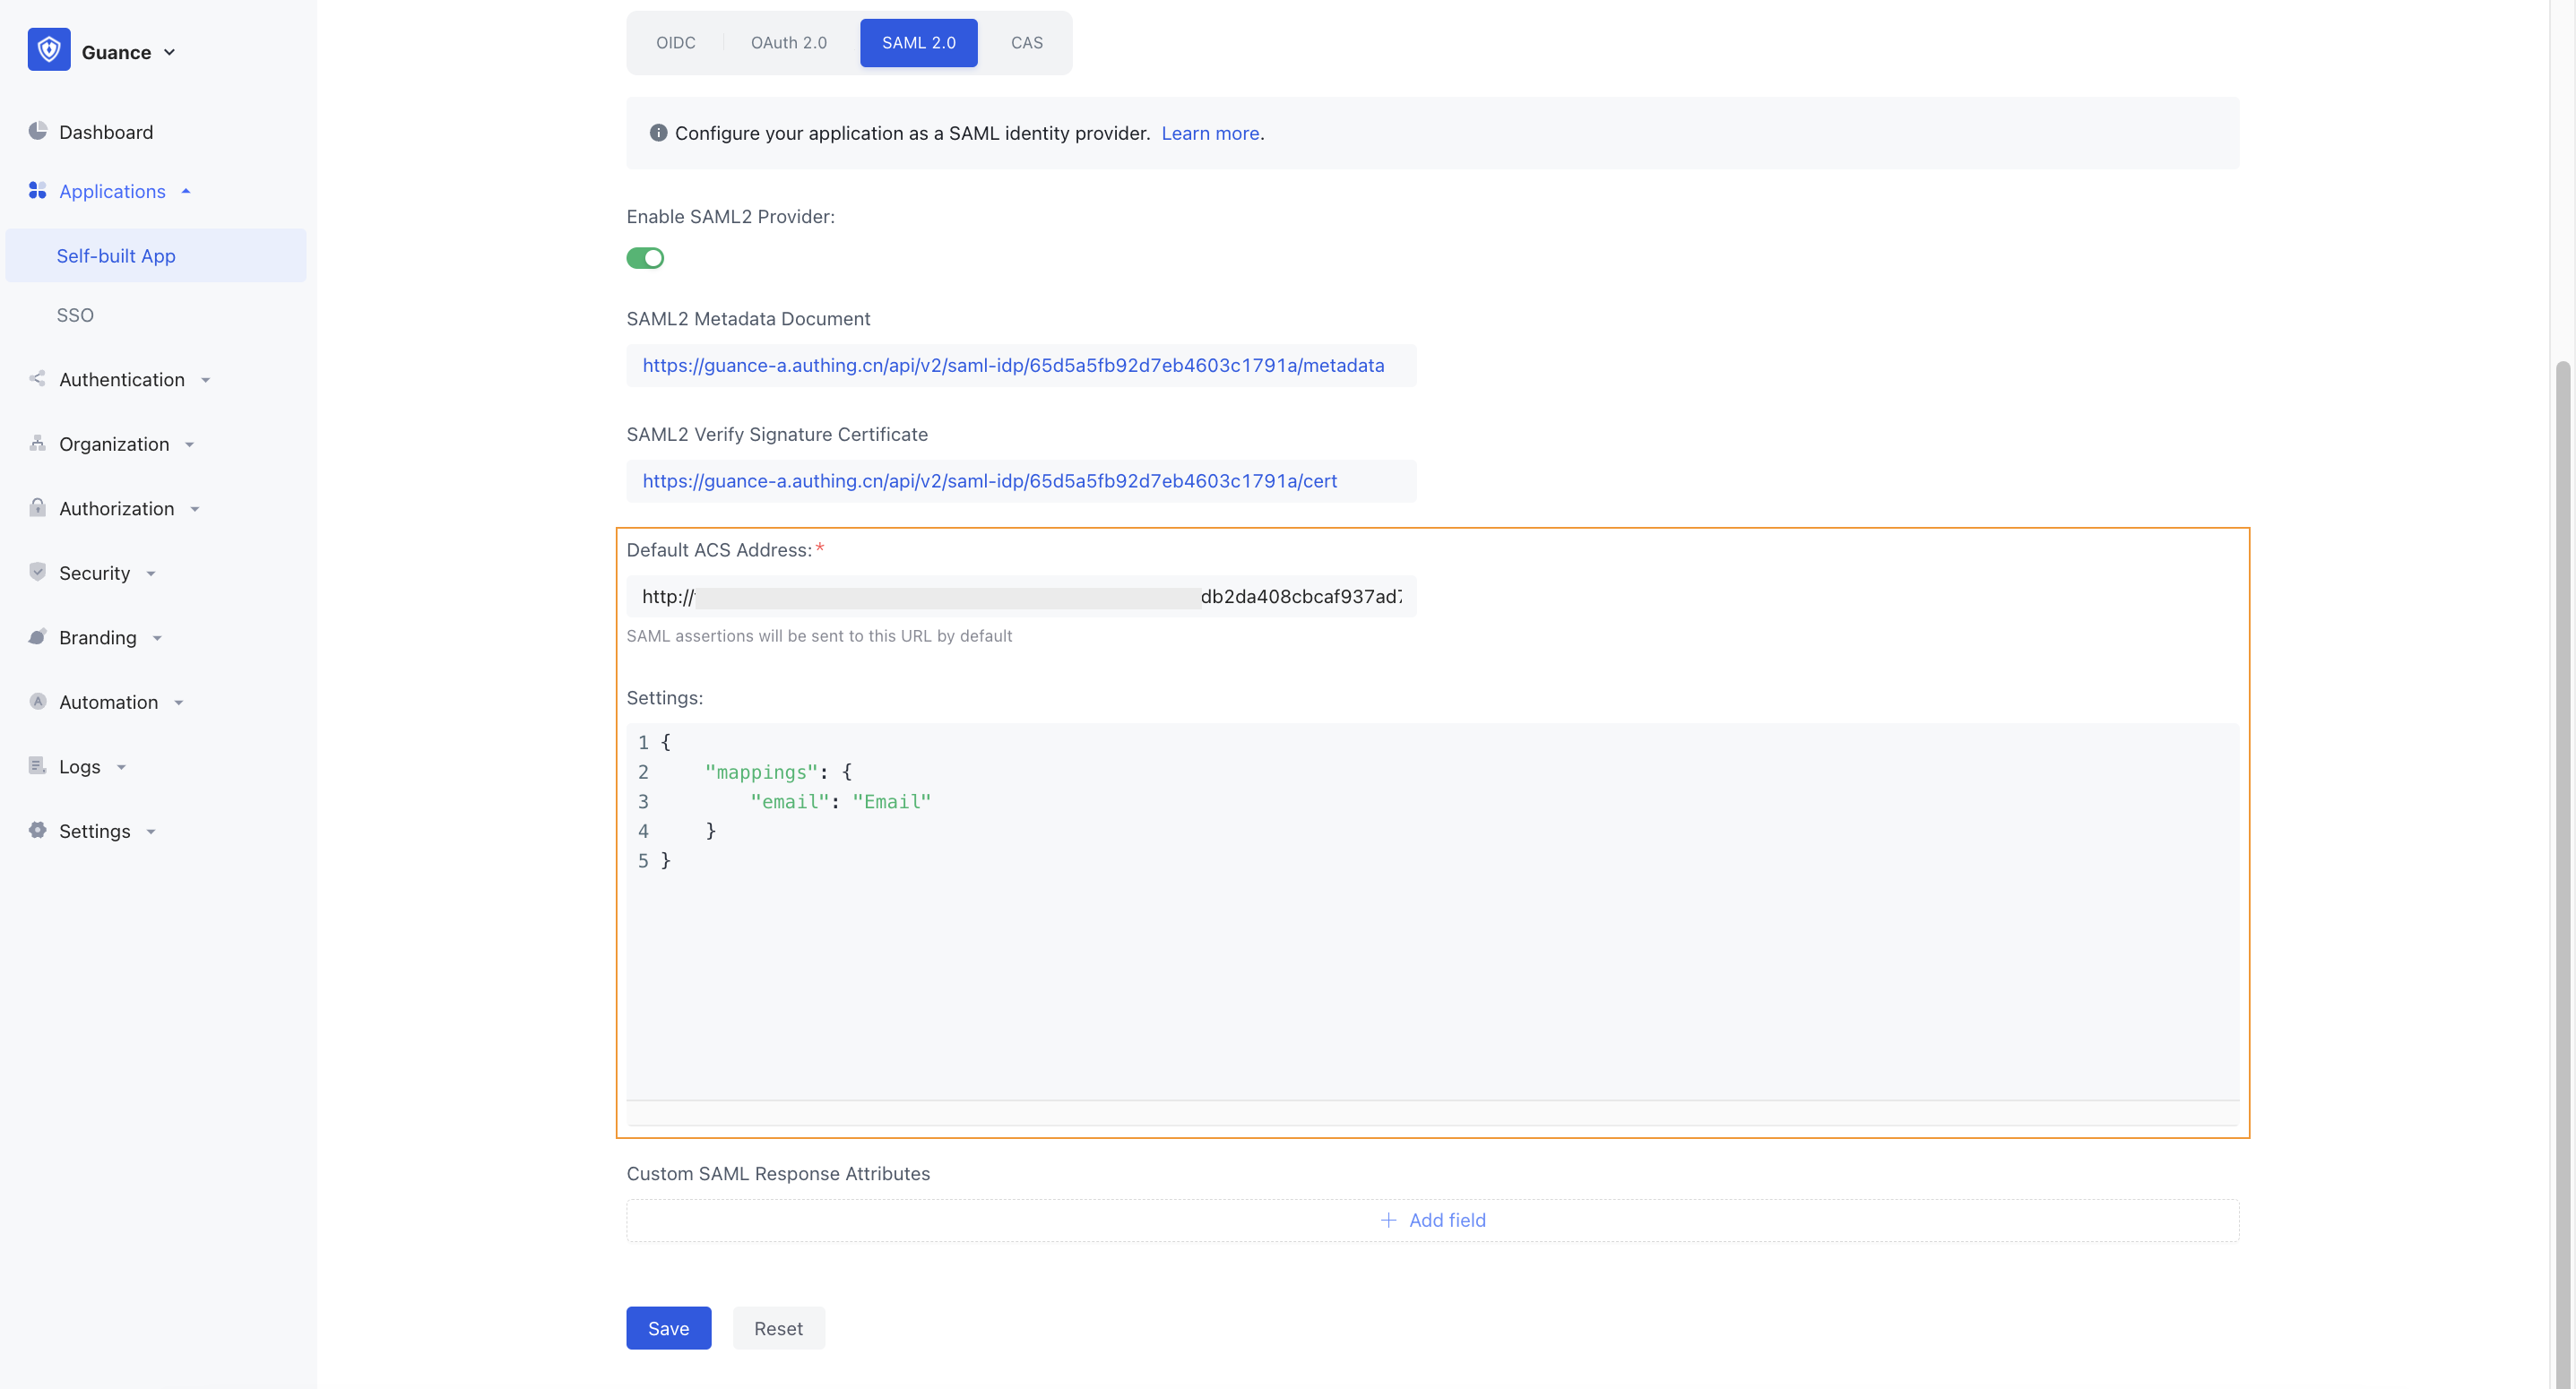
Mapping
// Authing email mapping configuration, do not copy this line
{
    "mappings": {
        "email": "Email"
    }
}

// Authing username mapping email configuration, do not copy this line

{
    "mappings": {
        "username": "Email"
    }
}