Okta Single Sign-On Example
Okta is a provider of identity and access management solutions.
Steps
1. Create an Okta Application
Note: Before creating the application, you need to register an account on the Okta website and create your organization.
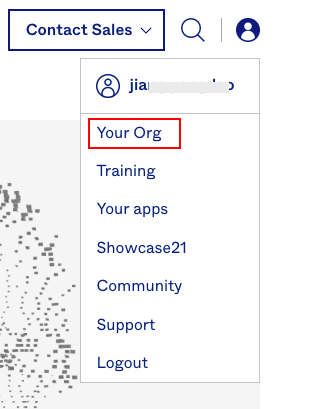
1) Open the Okta website and log in. Click on the user in the top-right corner, then select Your Org from the dropdown menu.
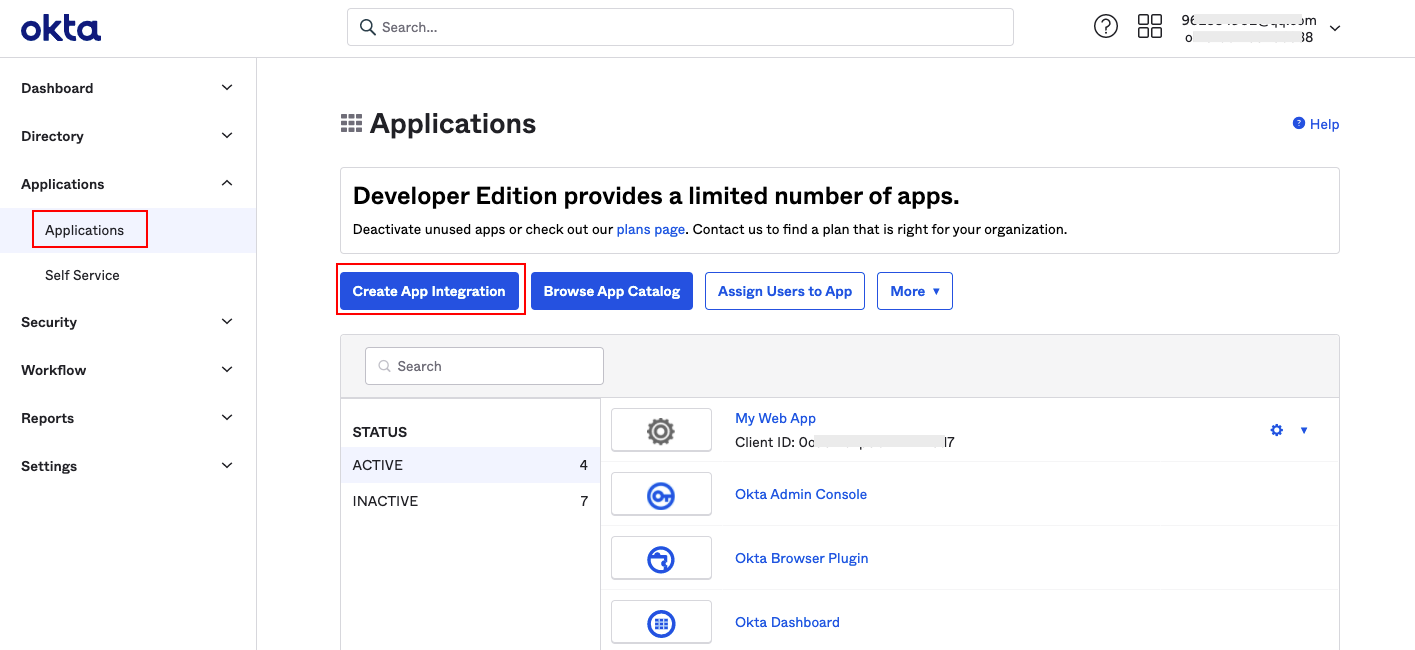
2) On the Okta organization page, click Application in the right-hand menu. In the opened page, click Create App Integration.
3) Select SAML 2.0 to create a new application.

2. Configure SAML for the Okta Application
Note: This step maps the attributes of the Okta application to the Guance attributes, establishing a trust relationship between Okta and Guance so they can trust each other.
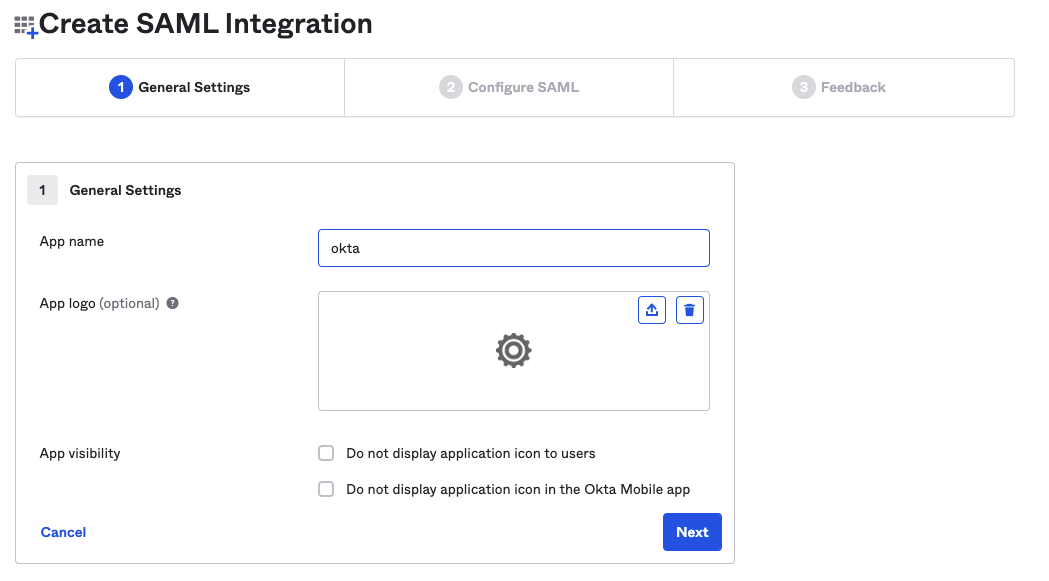
1) In the General Settings of the newly created application, input the application name, such as "okta", and then click Next.
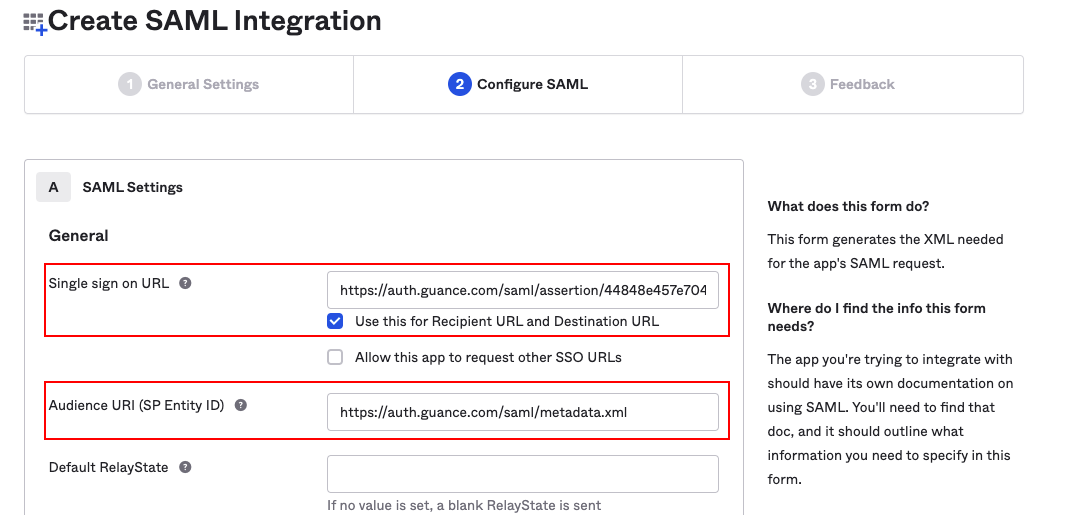
2) In the SAML Settings section of Configure SAML, enter the assertion address and Entity ID.
- Single sign-on URL: Assertion address, example: https://auth.guance.com/saml/assertion;
- Audience URI (SP Entity ID): Entity ID, example: https://auth.guance.com/saml/metadata.xml.
Note: This configuration is only used to obtain the metadata document for the next step. After enabling SSO single sign-on in Guance, replace with the correct Entity ID and Assertion Address.
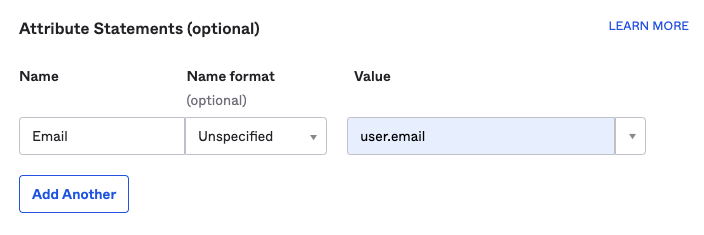
3) In the Attribute Statements (optional) section of Configure SAML, fill in the Name and Value.
- Name: The field defined by Guance, must be filled with Email, which associates the email of the identity provider's user (i.e., the identity provider maps the login user's email to Email);
- Value: Fill according to the actual email format of the identity provider. Here, Okta can use user.email.
Note: This content is mandatory. If it is not filled, SSO single sign-on will prompt that login is not possible.
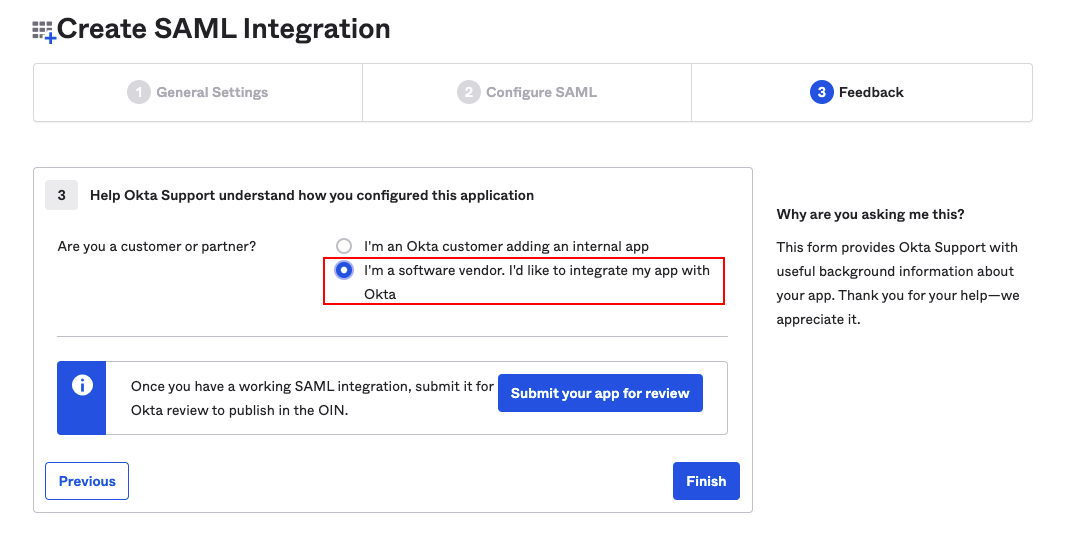
4) In Feedback, select the following options and click Finish to complete the SAML configuration.
3. Obtain the Okta Metadata Document
Note: This step retrieves the metadata document for creating an identity provider in Guance.
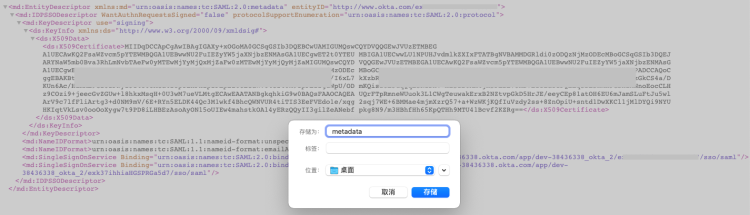
1) Under Sign On, click Identity Provider metadata to view the identity provider metadata.
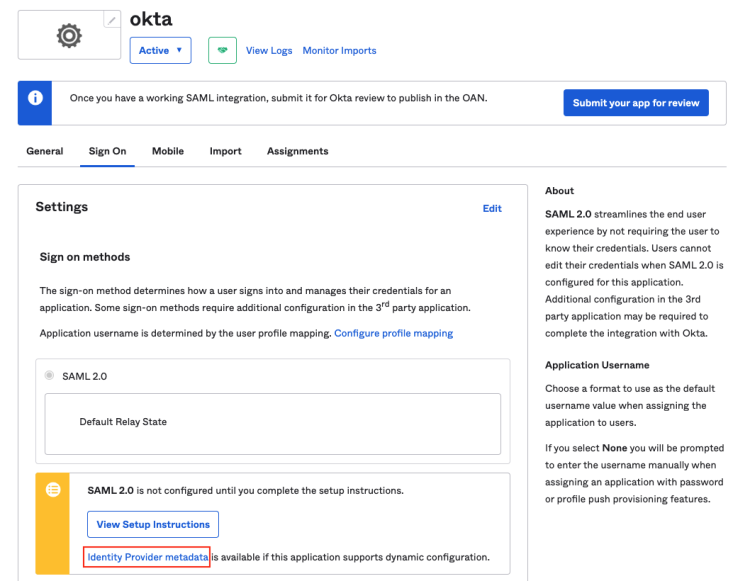
2) Right-click on the viewing page and save it locally.
Note: The metadata document is an XML file, such as “metadata.xml”.
4. Enable SSO Single Sign-On in Guance
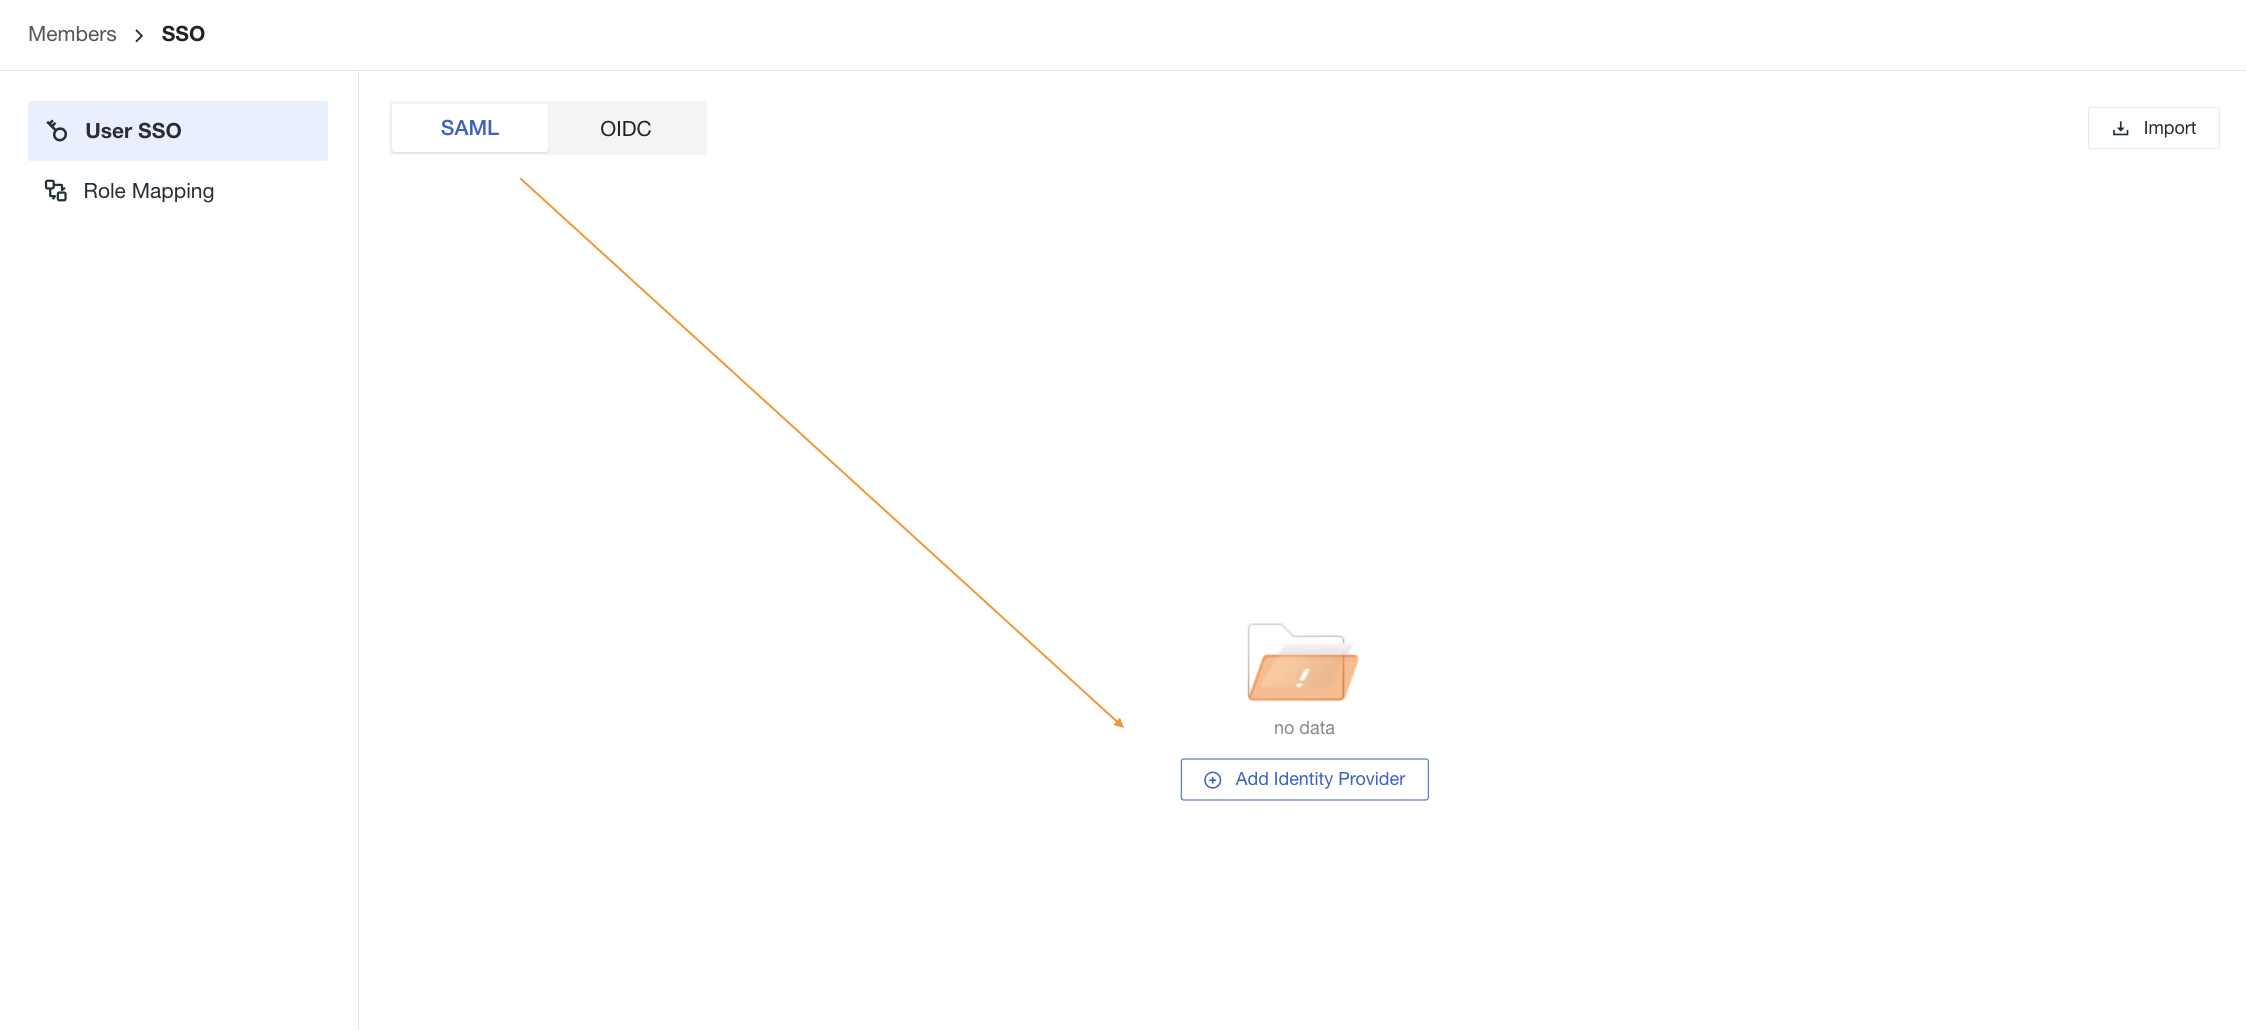
1) To enable SSO single sign-on, go to Guance workspace Management > Member Management > SSO Management, and click Enable.
Refer to the documentation Create SSO.
Note: For account security reasons, Guance supports configuring only one SSO per workspace. If you have already configured SAML 2.0 previously, we will consider the last updated SAML2.0 configuration as the final single sign-on authentication entry.
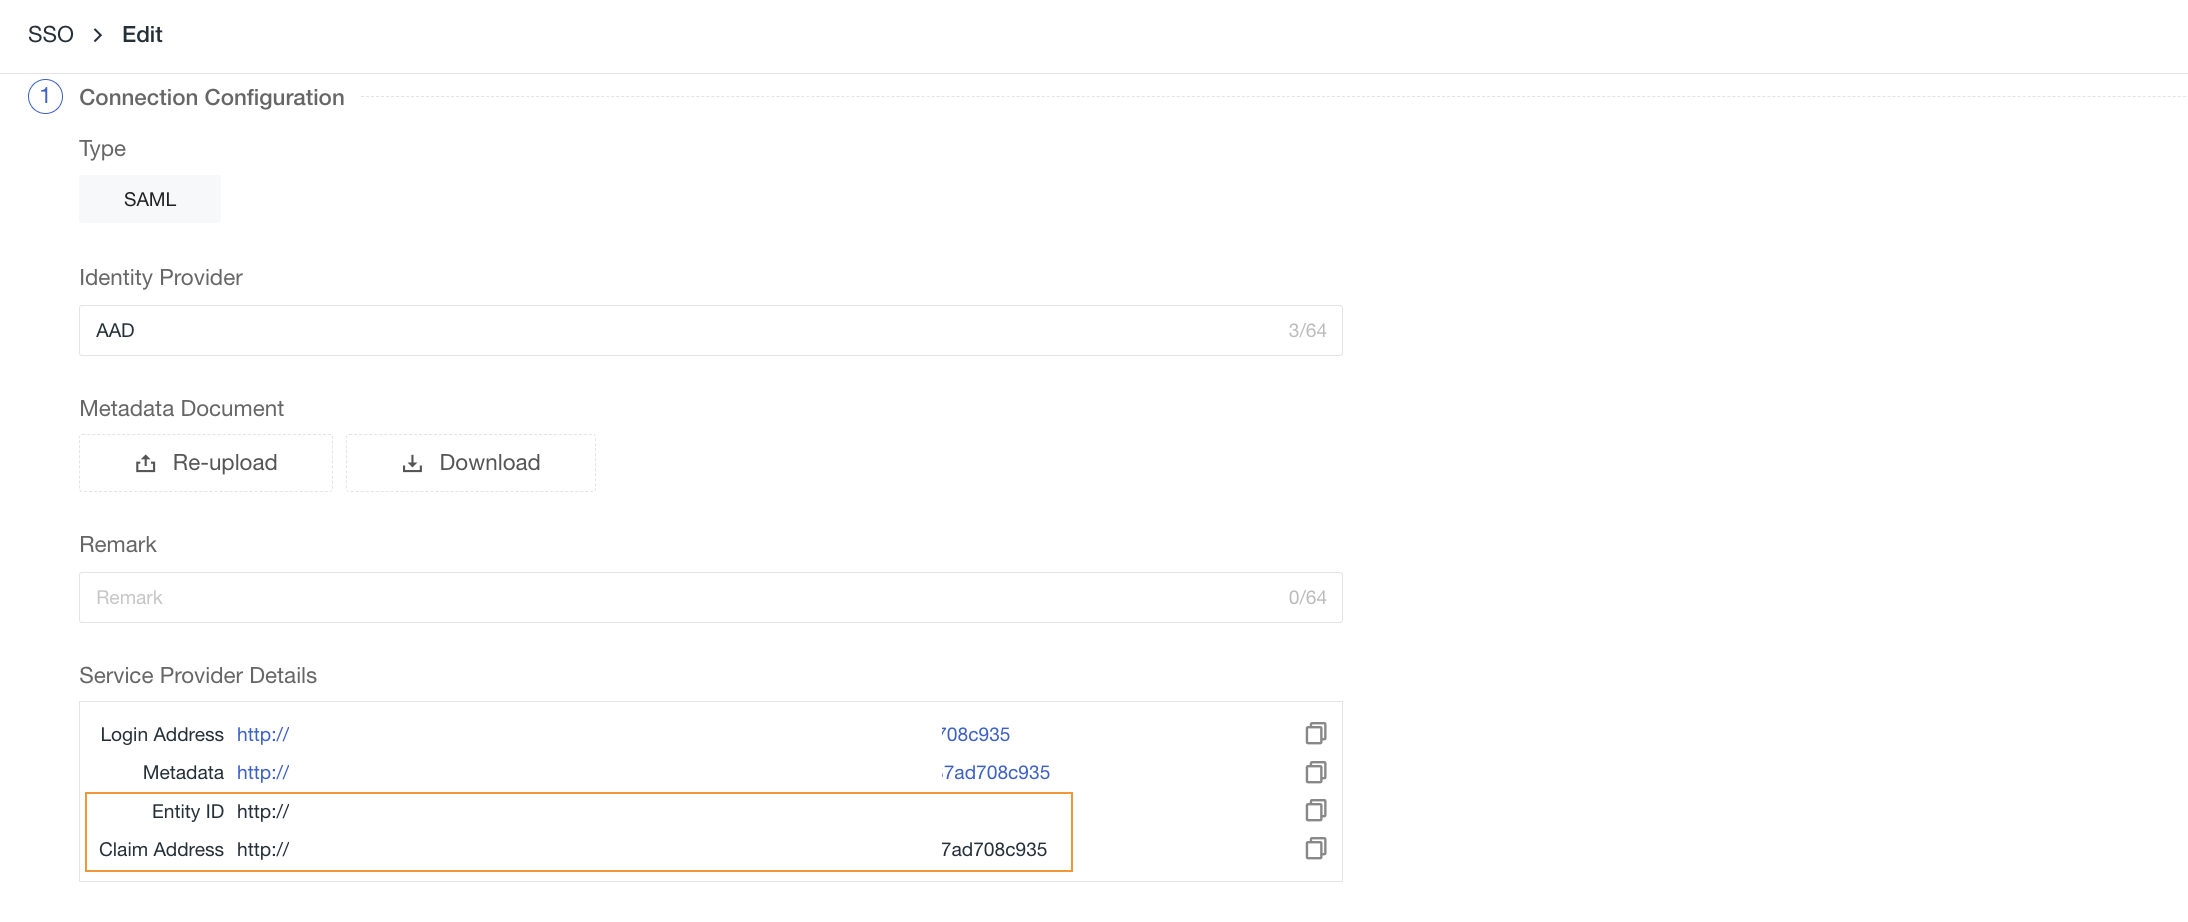
2) Upload the Metadata Document downloaded in Step 3, configure the domain (email suffix domain), select the role, and obtain the Entity ID and Assertion Address of the identity provider. You can directly copy the Login Address to log in.
Note: The domain is used for email domain mapping between Guance and the identity provider to achieve single sign-on. That is, the suffix domain of the user's email must match the domain added in Guance.
5. Replace the SAML Assertion Address in Okta
1) Return to Okta and update the Entity ID and Assertion Address in Step 2.
Note: When configuring single sign-on in Guance, the assertion address configured in the SAML of the identity provider must be consistent with that in Guance to achieve single sign-on.
6. Configure Okta Users
Note: This step configures authorized user email accounts for the identity provider created in Guance. Configured Okta user email accounts can log in to the Guance platform via single sign-on.
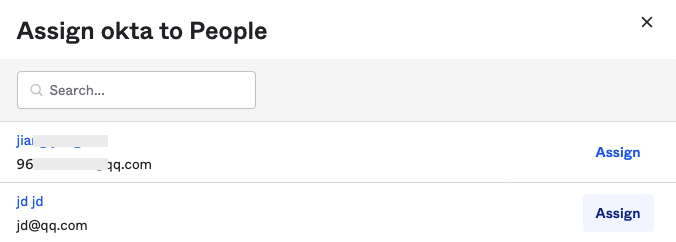
1) Under Assignments > Assign, select Assign to People.
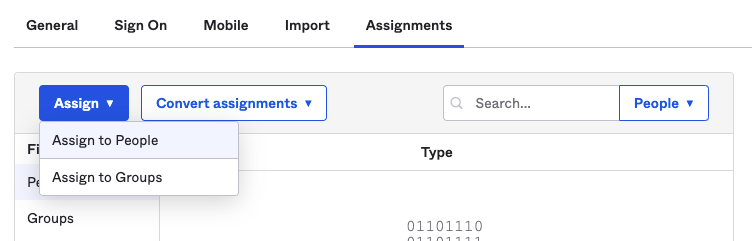
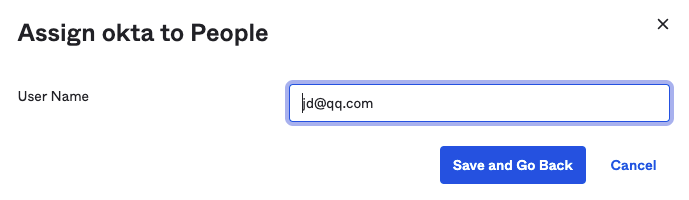
2) Select users who need to log in to Guance via single sign-on, such as "jd@qq.com", and click Assign.
3) Click Save and Go Back to complete the user configuration.
4) Return to Assignments to view the configured authorized Okta users.

7. Log in to Guance using an Okta Account
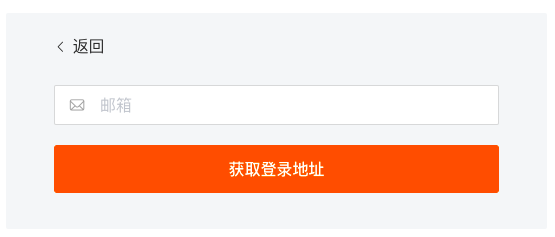
1) After completing SSO configuration, log in through the Guance official website or the Guance console. On the login page, select Single Sign-On.
2) Enter the email address used to create the SSO and click Get Login Address.
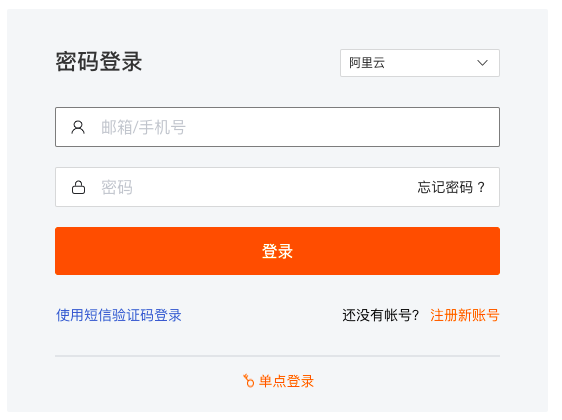
3) Click Link to open the enterprise account login page.

4) Enter the enterprise general email and password.
5) Log in to the corresponding workspace in Guance.
Note: If multiple workspaces are configured with the same identity provider SSO single sign-on, after logging into the workspace via SSO, you can click the workspace option in the top-left corner of Guance to switch between different workspaces to view data.