Launcher Service Installation and Configuration
Product Overview
A web application used to deploy and install Guance. Follow the guided steps in the Launcher service to complete the installation and upgrade of Guance.
Keywords
| Term | Description |
|---|---|
| Launcher | A web application used to deploy and install Guance. Follow the guided steps in the Launcher service to complete the installation and upgrade of Guance. |
| Operations machine | A machine that has kubectl installed and is on the same network as the target Kubernetes cluster. |
| Installation machine | A machine that accesses the Launcher service through a browser to complete the guided installation of Guance. |
| hosts file | A system file with no extension whose primary function is to store the mapping between domain names and IP addresses. |
1. Importing the Guance Offline Package
For an offline network environment installation, you must first manually download the latest Guance image package, import all images into each Kubernetes worker node using the docker load command, and then proceed with the guided installation.
Download URL for the latest Guance image package:
Command to import images in a Containerd environment:
Note
Images must be imported on each node. The resource package is
guance-xxx-latest.tar.gz.
2. Launcher Installation
- Installation
In the launcher directory, run the following command:
helm install launcher launcher-*.tgz -n launcher --create-namespace  \
  --set ingress.hostName=launcher.dataflux.cn \
  --set storageClassName=managed-nfs-storage
Download the Launcher chart: Download
- Uninstalling Launcher
Once Launcher is successfully installed, do not uninstall it unless necessary.
3. Resolving the Launcher Domain to the Launcher Service
Because the Launcher service is used for deploying and upgrading Guance and does not need to be publicly accessible, do not resolve the domain in the public DNS. Instead, on the installation machine, simulate domain resolution by binding the host. Add the following domain binding for launcher.dataflux.cn in /etc/hosts:
192.168.100.104 df-kodo.dataflux.cn
192.168.100.104 test.dataflux.cn
192.168.100.104 launcher.dataflux.cn
192.168.100.104 dataflux.dataflux.cn
192.168.100.104 df-func.dataflux.cn
192.168.100.104 df-api.dataflux.cn
192.168.100.104 df-management.dataflux.cn
192.168.100.104 df-management-api.dataflux.cn
192.168.100.104 df-static-res.dataflux.cn
192.168.100.104is the proxy IP address.
4. Application Installation Guide Steps
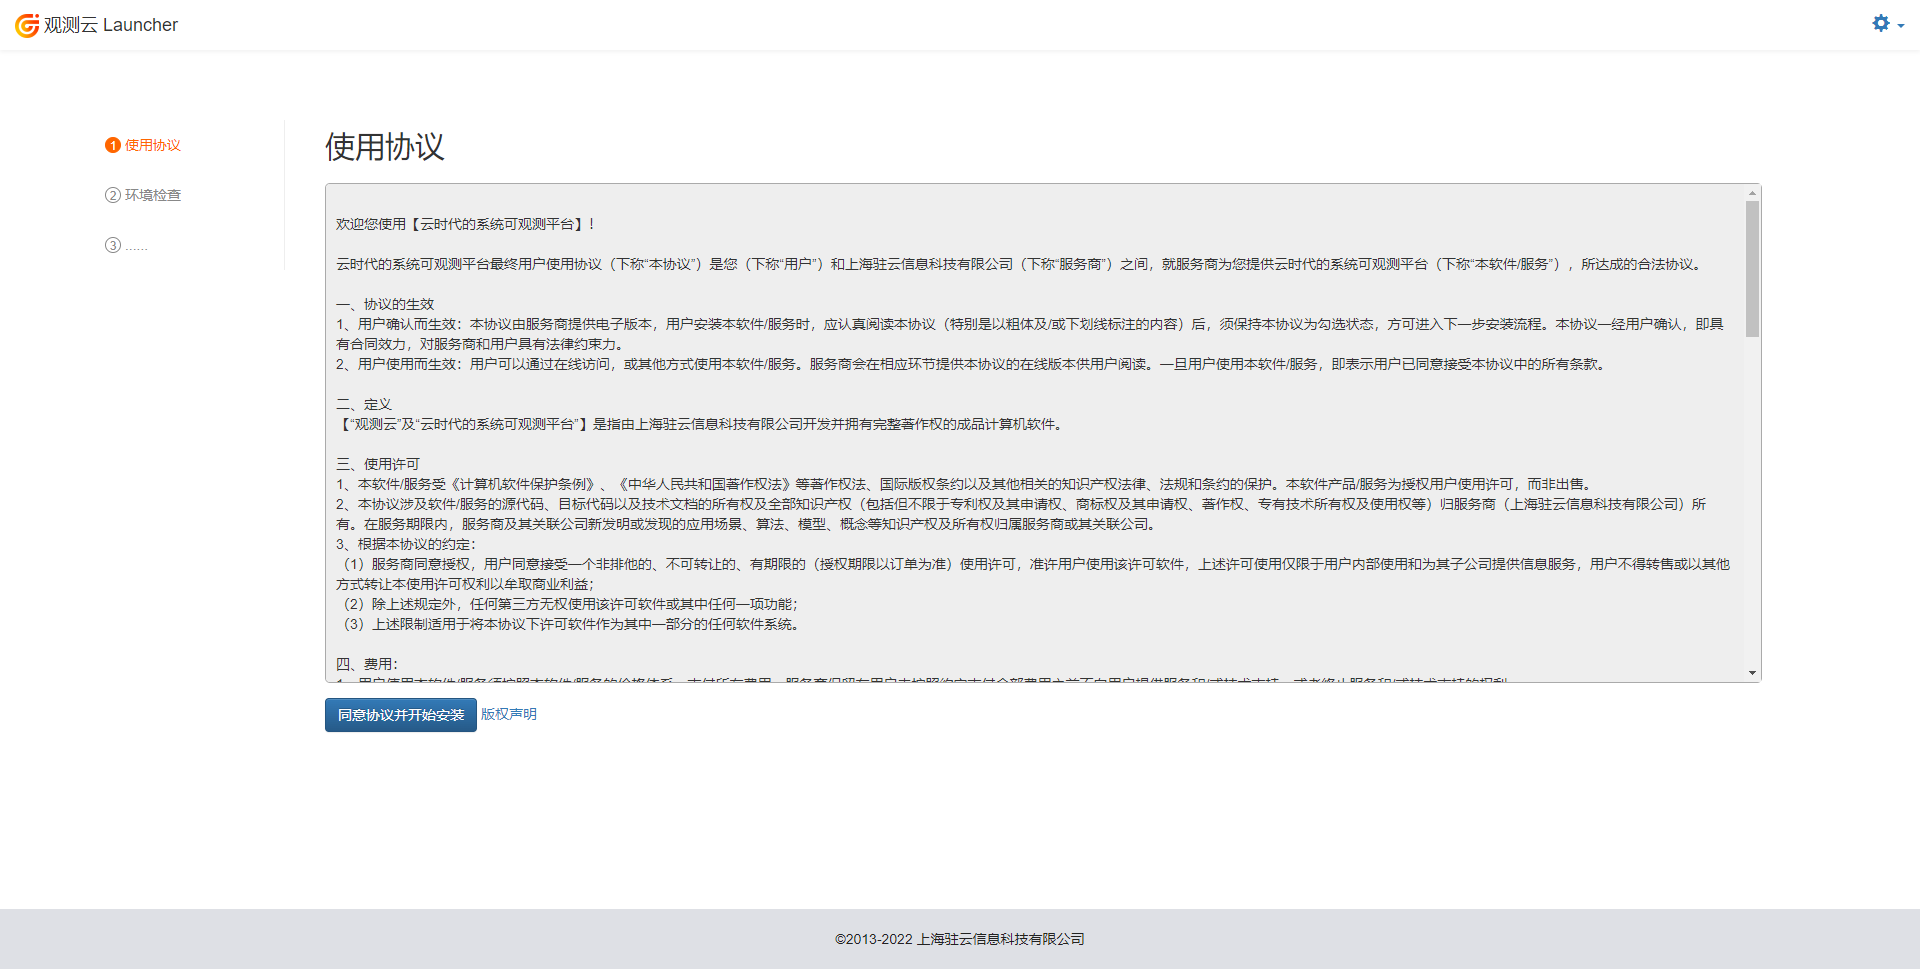
On the installation machine, open a browser and visit launcher.dataflux.cn. Follow the guided steps to complete the installation configuration.
4.1 Database Configuration
- The database connection address must use the internal network address.
- The account must be an administrator account because it is required to initialize the databases and database access accounts for multiple sub-applications.
| url | mysql.middleware |
|---|---|
| port | 3306 |
| username/password | root/mQ2LZenlYs1UoVzi |
4.2 Redis Configuration
- The Redis connection address must use the internal network address.
| url | redis.middleware |
|---|---|
| Port | 6379 |
| password | pNpX15GZkgICqX5D |
4.3 Time Series Engine Configuration
- TDengine
- The TDengine connection address must use the internal network address.
- The account must be an administrator account because it is required to initialize the DB and retention policies (RP).
| url | taos-tdengine.middleware |
|---|---|
| port | 6041 |
| username/password | your_created_account/your_set_password |
4.4 Log Engine Configuration
- OpenSearch
- The connection address must use the internal network address.
- The account must be an administrator account.
| url | opensearch-cluster-client.middleware |
|---|---|
| port | 9200 |
| username/password | openes/kJMerxk3PwqQ |
4.5 Other Settings
- The initial administrator account name and email for the Guance management console (default password is admin; we recommend changing it immediately after logging in).
- The internal IP address of the cluster nodes (automatically retrieved; verify correctness).
- The main domain and subdomain configuration for each sub-application. The default subdomains are as follows (can be modified as needed):
dataflux– User Frontenddf-api– User Frontend APIdf-management– Management Consoledf-management-api– Management Console APIdf-websocket– WebSocket Servicedf-func– Func Platformdf-openapi– OpenAPIdf-static-res– Static Resource Sitedf-kodo– Kodo
TLS domain certificate input.
4.6 Installation Information
Displays a summary of all information entered in the previous steps. If any information is incorrect, you can return to the previous step to modify it.
4.7 Application Configuration Files
The installer will automatically initialize the application configuration templates based on the installation information provided in the previous steps. However, you must still review all application templates one by one and modify the personalized application configurations. Refer to the installation interface for specific configuration instructions.
Once confirmed, submit to create the configuration files.
4.8 Application Images
- Select the correct shared storage, i.e., the name of the storage class you created in the previous steps.
- The application images will be automatically populated based on the Launcher version you selected; no modification is needed. After confirming, click Create Application.
4.9 Application Status
All application services and their startup statuses are listed here. This process requires downloading all images and may take a few minutes to more than ten minutes. Once all services have started successfully, the installation is complete.
Note: During the service startup process, you must remain on this page and not close it. Only when you see the prompt "Version information written successfully" and no error window appears can you consider the installation successful.
4.10 Domain Name Resolution
Resolve all subdomains (except df-kodo.dataflux.cn) to the SLB public IP address or the edge node ingress address:
dataflux.dataflux.cndf-api.dataflux.cndf-management.dataflux.cndf-management-api.dataflux.cndf-openapi.dataflux.cndf-func.dataflux.cndf-static-res.dataflux.cn
Because a locally deployed Kubernetes cluster cannot use the LoadBalancer service, you must use edge node ingress.
apiVersion: extensions/v1beta1
kind: Ingress
metadata:
  name: df-kodo
  namespace: forethought-kodo
spec:
  rules:
  - host: df-kodo.dataflux.cn
    http:
      paths:
      - backend:
          serviceName: kodo-nginx
          servicePort: http
        path: /
        pathType: ImplementationSpecific
---
apiVersion: v1
kind: Service
metadata:
  name: kodo-nginx
  namespace: forethought-kodo
spec:
  ports:
  - name: https
    nodePort: 31841
    port: 443
    protocol: TCP
    targetPort: 80
  - name: http
    nodePort: 31385
    port: 80
    protocol: TCP
    targetPort: 80
  selector:
    app: deployment-forethought-kodo-kodo-nginx
  sessionAffinity: None
  type: NodePort
5. Security Settings
Important
After completing the above steps, Guance is fully installed and can be verified. Once verification is successful, a crucial step is to take the Launcher service offline to prevent accidental access that could compromise the application configuration. On the operations machine, run the following command to set the Launcher service pod replicas to 0: