Notification Targets
Configure notification targets for alert events, including:
System Default Notification Targets
Self-built Notification Targets
System Default Notification Targets
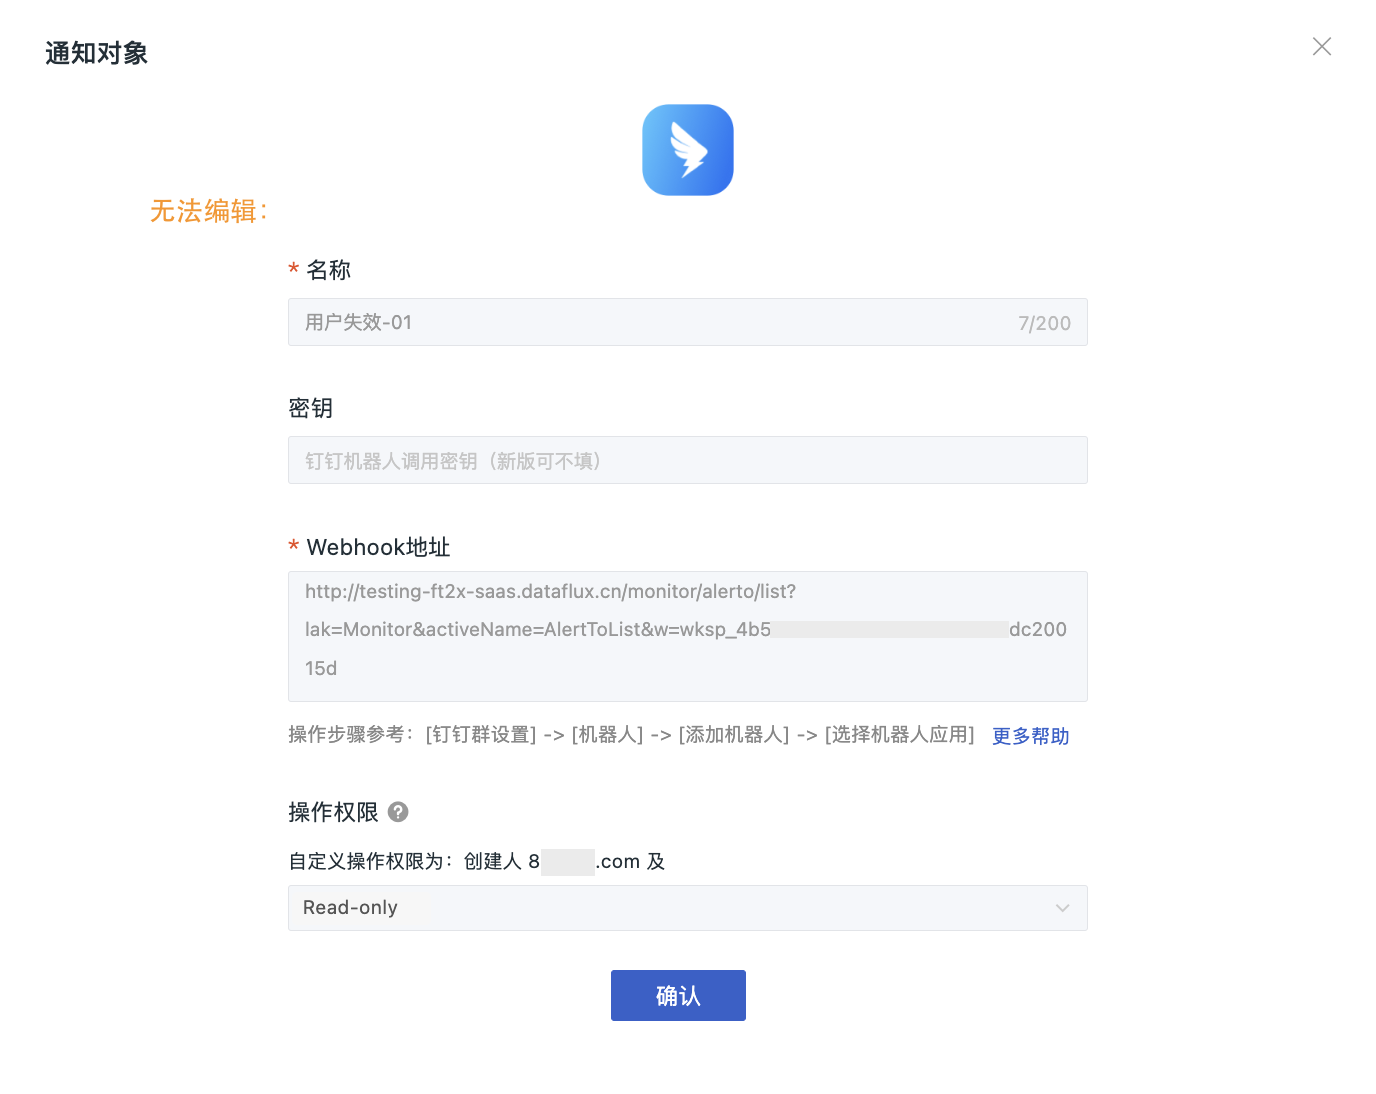
The system provides default notification channels. When configuring, you need to specify the Webhook address for event notifications and define notification permissions, selecting specific users or roles to manage the notification target rules.
Note
Alert notifications for DingTalk, WeCom, and Lark bots are sent in consolidated batches once per minute, resulting in a delay of approximately one minute.
Main Configuration
- Define the name of the current notification target for identification in the notification target list;
-
Configure information such as keys/Webhook addresses for the current notification target:
-
Test Notification: After configuration is complete, you can click "Test Notification Sending" to verify if the notification channel is reachable;
- Configure Operation Permissions;
- Confirm.
Configure Operation Permissions
After setting the operation permissions for a notification target, roles, team members, and workspace users in your current workspace will be able to perform corresponding operations on the notification target based on the assigned permissions.
| Operation | Description |
|---|---|
| Do not enable this configuration | Follows the default permissions for "Notification Target Configuration Management" |
| Enable this configuration and select custom permission objects | At this point, only the creator and the assigned permission objects can enable/disable, edit, or delete the rules for this notification target |
| Enable this configuration, but do not select custom permission objects | Then only the creator has the permissions to enable/disable, edit, or delete this notification target |
Note
The Owner role of the current workspace is not affected by the operation permission configuration here.
Self-built Notification Targets
In addition to the system default notification targets, it also supports connecting to external notification channels through third-party Func, sending alert information directly to the local DataFlux Func.
For specific steps, refer to Connecting Self-built Notification Targets.
Manage List
Successfully added notification targets can all be viewed on the Monitoring > Notification Targets page. You can manage the list through the following operations:
- Perform enable/disable, modify, or delete operations on specific notification targets;
- Batch operations;
- Operation Audit: Click to jump to view operation records related to that notification target rule;
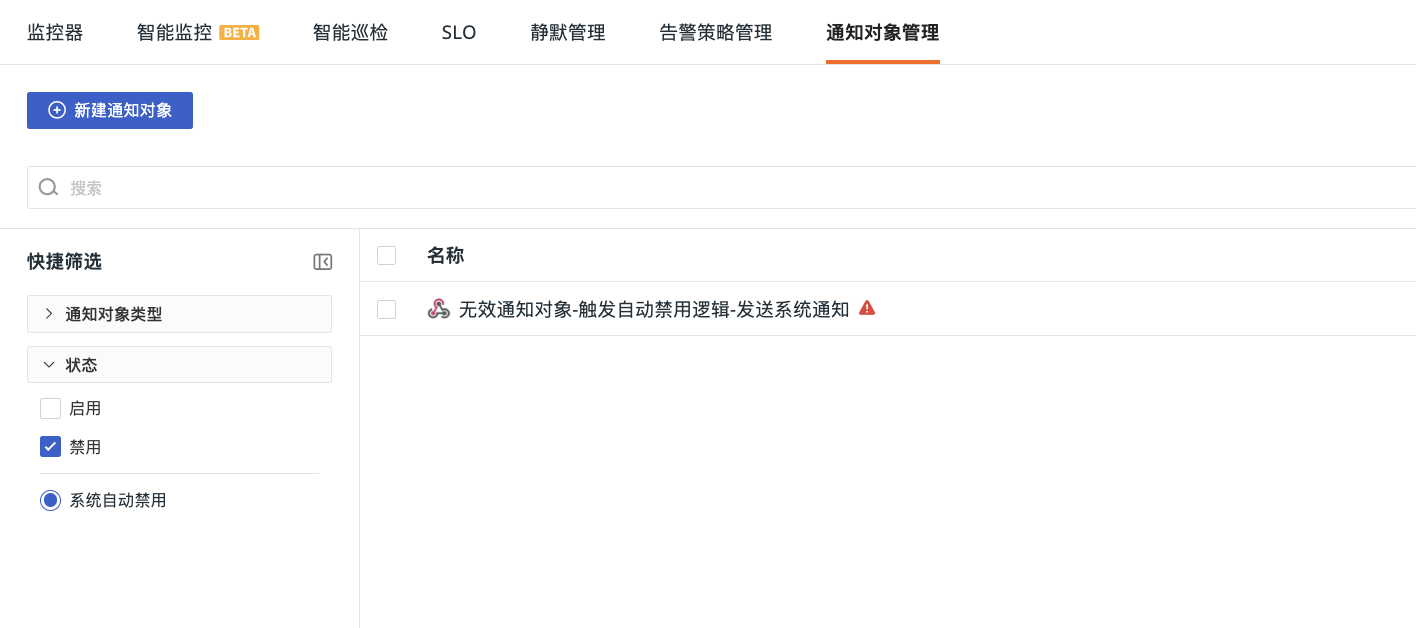
- Use the quick filters on the left, select filter conditions to quickly locate notification rules;
- If you are not granted permissions for a notification target rule, you cannot enable/disable, edit, or delete it.
System Automatic Disable
If a notification target rule fails to send externally for two consecutive days, the system will automatically disable that notification rule. Under "Quick Filters > Status", check the button to quickly view all rules that have been automatically disabled.