Incident List
The Incident List is a unified page in Guance for centrally managing and displaying all incidents, used to view, claim, and track incident handling progress.
By default, the list displays only incidents in the current Workspace. If the current Workspace has been authorized to access incident data from other workspaces, a workspace scope selector appears to the left of the search box, allowing you to filter by "Current Workspace" or a specified authorized workspace.
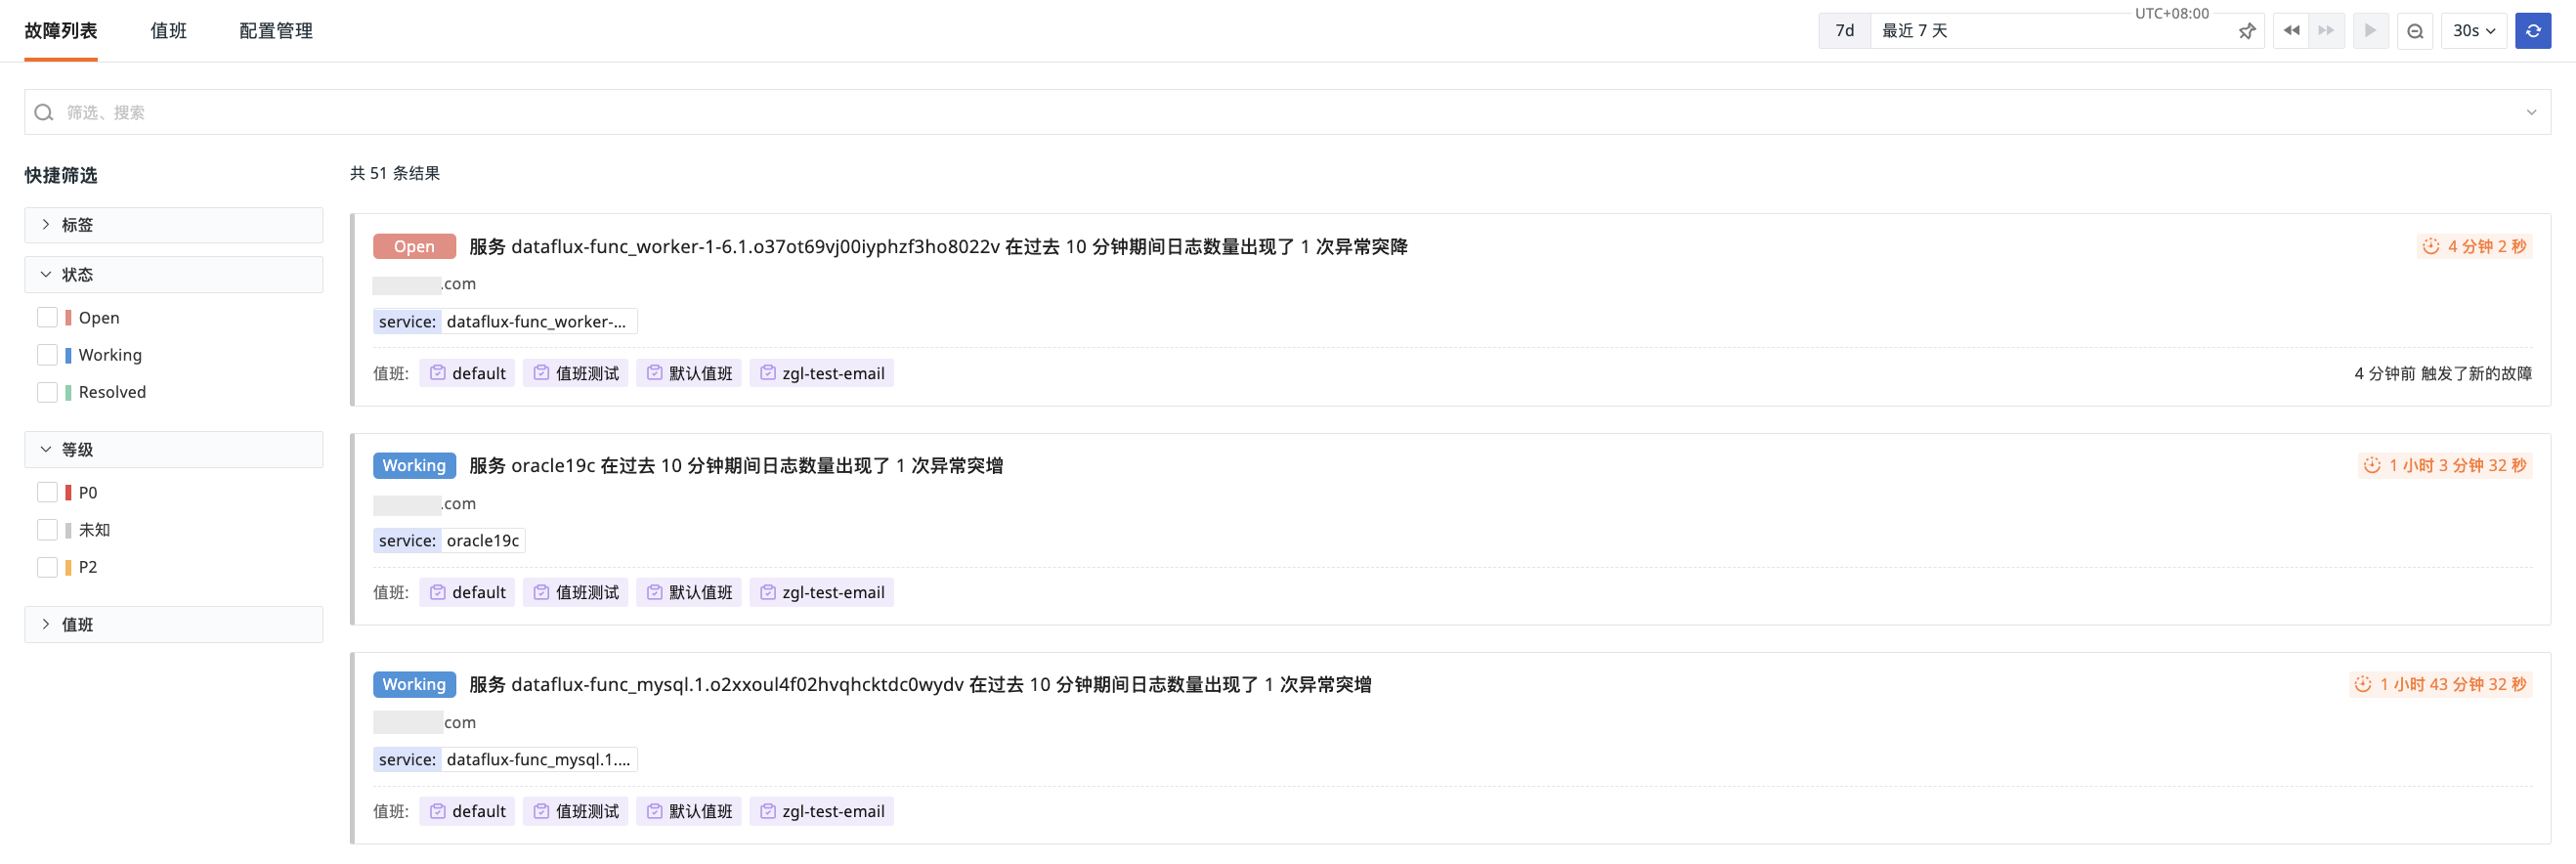
Incident List View
The list is sorted by incident trigger time in descending order by default. Each incident displays the following core information:
- Title: A brief description of the incident, generated by monitor rules or manually supplemented by the handler;
- Level: The severity of the incident (P0, P1, P2, P3), specified by the incident generation configuration;
- Incident Type: Indicates how the incident was generated. Incidents generated by aggregation rules display the Aggregated Incident badge;
- Status: The current handling stage (Open, Working, Resolved, Closed);
- Handler: The user or team currently claiming the incident;
- Detection Dimensions: Tags or dimension information associated with the incident (e.g.,
host:web-01,service:auth), helping quickly assess the impact scope; - Duration: How long the incident has lasted since it was triggered;
- Footer Information: Shows the associated on-call rule and recent events (e.g., "Status changed to Working 5 minutes ago").
Filter and Search Incidents
You can quickly find the target incident in multiple ways:
- Quick Filter Bar: Filter by incident tag, status, level, or on-call rule.
- Combined Filters: Filter by incident type for aggregated incidents or monitor incidents, and by incident rule for incidents generated by a specific rule.
- Global Search: Supports keyword search on incident titles, as well as syntax for exact matching, for example:
status:open: Find unhandled incidentslevel:p0: Find P0-level incidentsassignee:张三: Find incidents whose handler is Zhang Santag(service):auth: Find incidents with tagservice:auth
Incident Claiming and Handling
Incidents can be automatically created by a monitor when an anomaly is detected, or created by aggregation rules after summarizing events over a time window. The initial status is Open, and the system immediately notifies the relevant personnel according to your configured on-call rules.
If the on-call rule has auto-claim enabled, and the on-call schedule triggered by the incident matches only one on-call person, that member is automatically assigned as the incident handler, and the incident status is updated to Working.
-
Claim Incidents: You can actively claim an incident in the incident list or details page Claim an Incident, becoming the owner, and the status automatically changes to Working, following the "claim means handle" principle;
-
Owner Change: For incidents in Working status, other users can also actively claim them, and the owner changes accordingly;
-
Status Transitions:
-
Open → Working: Automatically switched after a user claims.
-
Working → Resolved/Closed: Manually performed by the handler, indicating the incident has been resolved or closed.
-
Rollback: The handler can roll a Working incident back to Open; after rollback, the owner is cleared and the incident re-enters the assignment queue.
-
-
Incident Reopening: If a resolved incident (Resolved) is triggered again by the same monitor, the system automatically creates a new incident with Open status;
-
Escalation Notifications: If an incident remains unclaimed or unhandled for a long time, the escalation policy you configured automatically notifies more or higher-level personnel, ensuring alerts are always delivered.
Batch Operations
Members with incident management permissions can click Multi-select in Incident Center > Incident List, select incidents in the current Workspace, and perform the following operations. Select All covers all loaded and selectable incidents in the current list.
- Take Over: Select incidents with Open or Working status, click Take Over, and confirm.
- Change Status: Click Change Status, select the target status, verify the number of changes and handler changes, then confirm submission. Each submission can actually change up to 100 items; incidents already in the target status are classified as No Change Needed.
When changing status, note the following rules:
- Incidents in Open status or handled by the current member can be changed; Working-status incidents handled by other members must first be taken over.
- Changing to Open clears the handler; when an Open incident without a handler is changed to another status, the current member is set as the handler.
After submission, view the processing results in Change Results. If the change fails, handle it as prompted and click Reconfirm Failed Items; if the results are not confirmed, click Refresh to Verify.
Further Reading
You may also be interested in the following: