Distributed Tracing for Spring Boot Projects with External Tomcat
Overview
When different enterprises use the Java ecosystem to build their own enterprise-level frameworks, the technology stacks they use may differ. For microservice frameworks, some use Spring Boot + Spring Cloud, while others use Spring Boot + Dubbo.
Guance supports different APM tools to connect microservice traces to Guance. You can choose the APM tool that best suits your needs.
Typically, microservices are built and run as JAR files. This document focuses on how to package these microservices as WAR files, deploy them on Tomcat, and connect trace data to Guance. The same approach applies to traditional WAR-based projects.
SkyWalking Scenario
Prerequisites
- Cloud host (CentOS 7.9)
- JDK installed
- Zookeeper installed
- Guance account
- Two Tomcat deployments, paths:
/usr/local/df-demo/tomcat8080and/usr/local/df-demo/tomcat8081 - <DataKit installed on the cloud host
Steps
Warning
This example is tested with DataKit version 1.4.9, Spring Cloud 3.1.1, Spring Boot 2.6.6, Dubbo 2.7.15, Zookeeper 3.7.1, JDK 1.8, and Tomcat 9.0.48.
1 DataKit Configuration
1.1 Modify http_api (Optional)
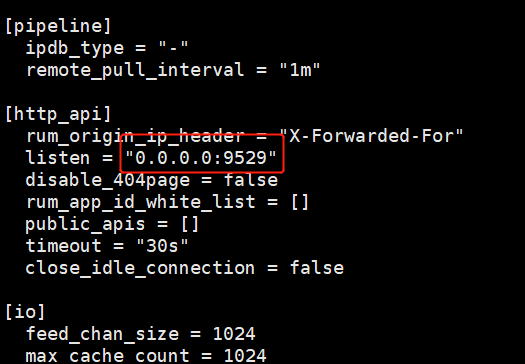
Edit the /usr/local/datakit/conf.d/datakit.conf file and change the listen value of http_api to 0.0.0.0:9529, so that other hosts can access the 9529 port of this host.
If you do not need other hosts to access DataKit, you can skip this modification.
1.2 Enable the SkyWalking Collector
Log in to the host, copy the sample file, and enable the SkyWalking collector.
Restart DataKit.
2 APM Integration
2.1 Download SkyWalking
Download apache-skywalking-java-agent-8.11.0, extract it, rename the folder to agent, and upload it to the directories /usr/local/df-demo/tomcat8080 and /usr/local/df-demo/tomcat8081 on the host.
2.2 Configure Tomcat
Edit the /usr/local/df-demo/tomcat8080/bin/catalina.sh file and add the following content:
export CATALINA_OPTS="$CATALINA_OPTS -javaagent:/usr/local/df-demo/tomcat8080/agent/skywalking-agent.jar -Dskywalking.agent.service_name=tomcat-customer -Dskywalking.collector.backend_service=localhost:11800"

Parameter description:
-Dskywalking.agent.service_name: Service name-Dskywalking.collector.backend_service: DataKit address + SkyWalking collector port for trace reporting
Edit the /usr/local/df-demo/tomcat8081/bin/catalina.sh file and add the following content:
export CATALINA_OPTS="$CATALINA_OPTS -javaagent:/usr/local/df-demo/tomcat8081/agent/skywalking-agent.jar -Dskywalking.agent.service_name=tomcat-provider -Dskywalking.collector.backend_service=localhost:11800"
Start Tomcat.
2.3 Deploy the Project
Download the WAR files and obtain consumer.war and provider.war from the skywalking directory.
- Place
provider.warinto the/usr/local/df-demo/tomcat8081/webappsdirectory. - Place
consumer.warinto the/usr/local/df-demo/tomcat8080/webappsdirectory.
3 Distributed Tracing
Access http://192.168.0.100:8080/consumer/ping from a browser, where the IP is the address of the host.
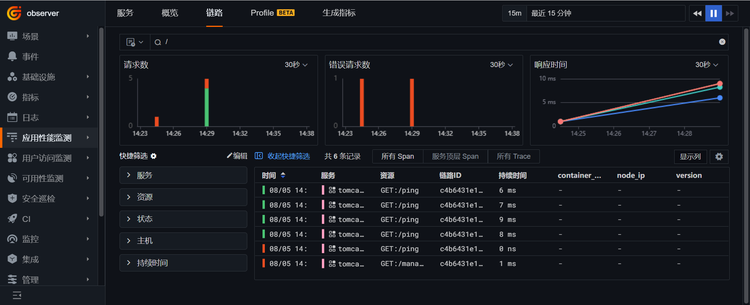
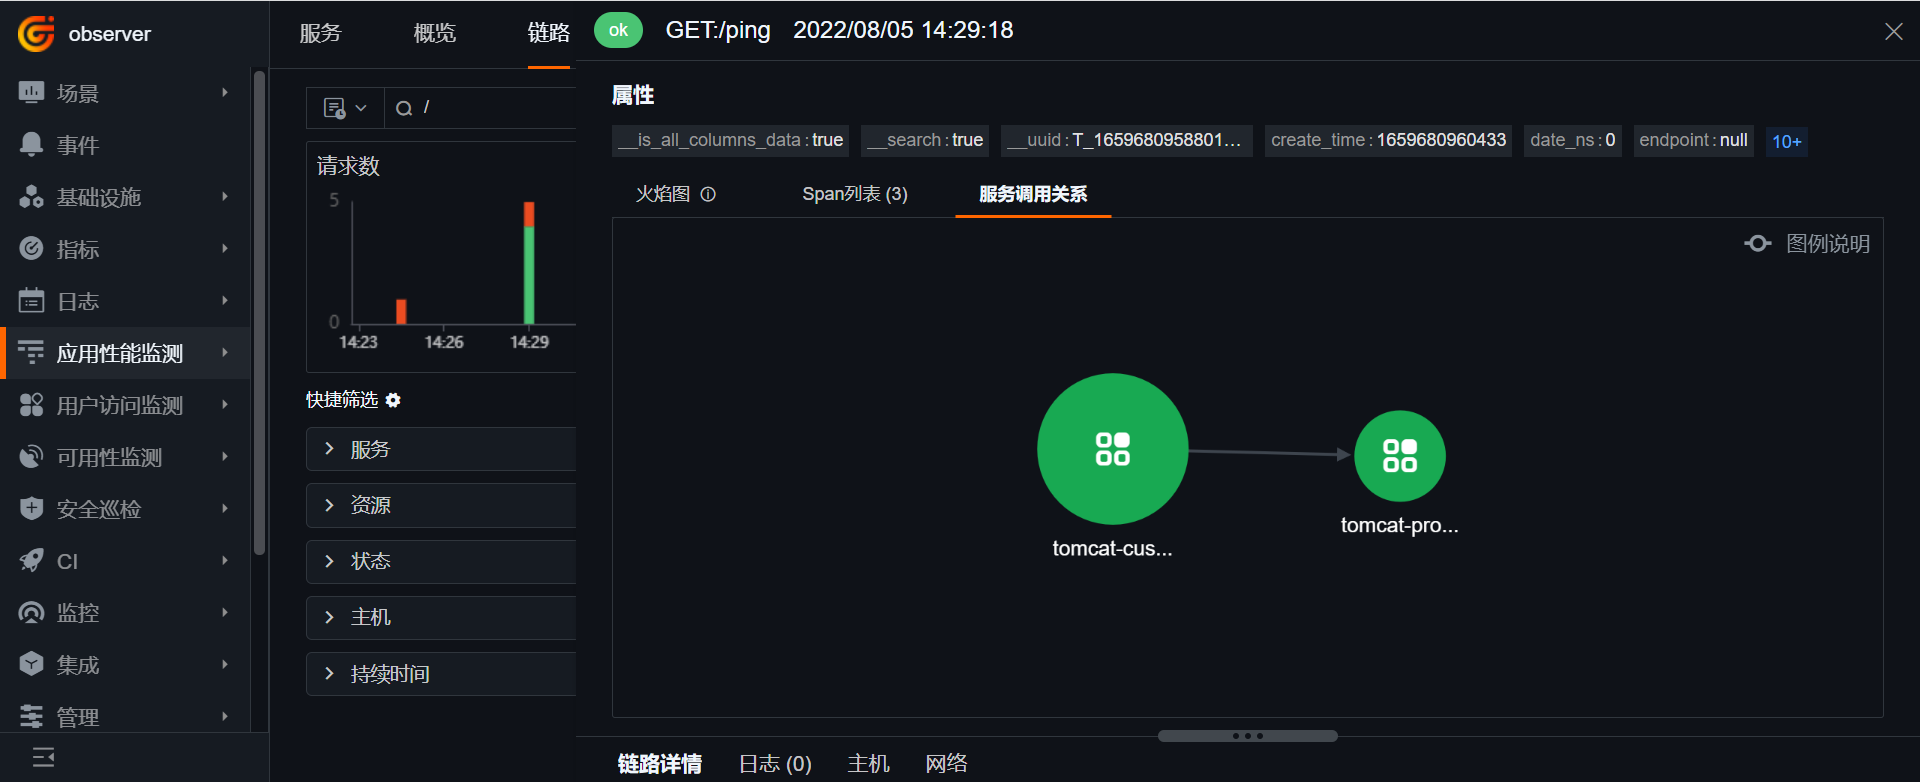
Log in to 「Guance」-「Application Performance Monitoring (APM)」 to see the tomcat-customer and tomcat-provider services.
Click a trace to view the flame graph, span list, call relationships, and more.